![City Hive Logo-2.png]](https://support.cityhive.net/hs-fs/hubfs/City%20Hive%20Logo-2.png?height=50&name=City%20Hive%20Logo-2.png)
Product Images and Descriptions:
All of the product information is driven from the Inventory section of your Supplier Account. Edits you make to product images, descriptions and product names in your dashboard are reflected immediately on your Connected site. Learn more about how to make product edits.

You may also hide products in your inventory tab from your Connected site. Do this by clicking on the eye icon at the far right of the row.
If you see more than one version of the same product on your Connected website, it is likely that you have two slightly different naming structures for that item in your dashboard. To merge the items into one, simply rename one of the items so the Product names match. Once that "modification offer" is approved, the items will merge into one on your site.

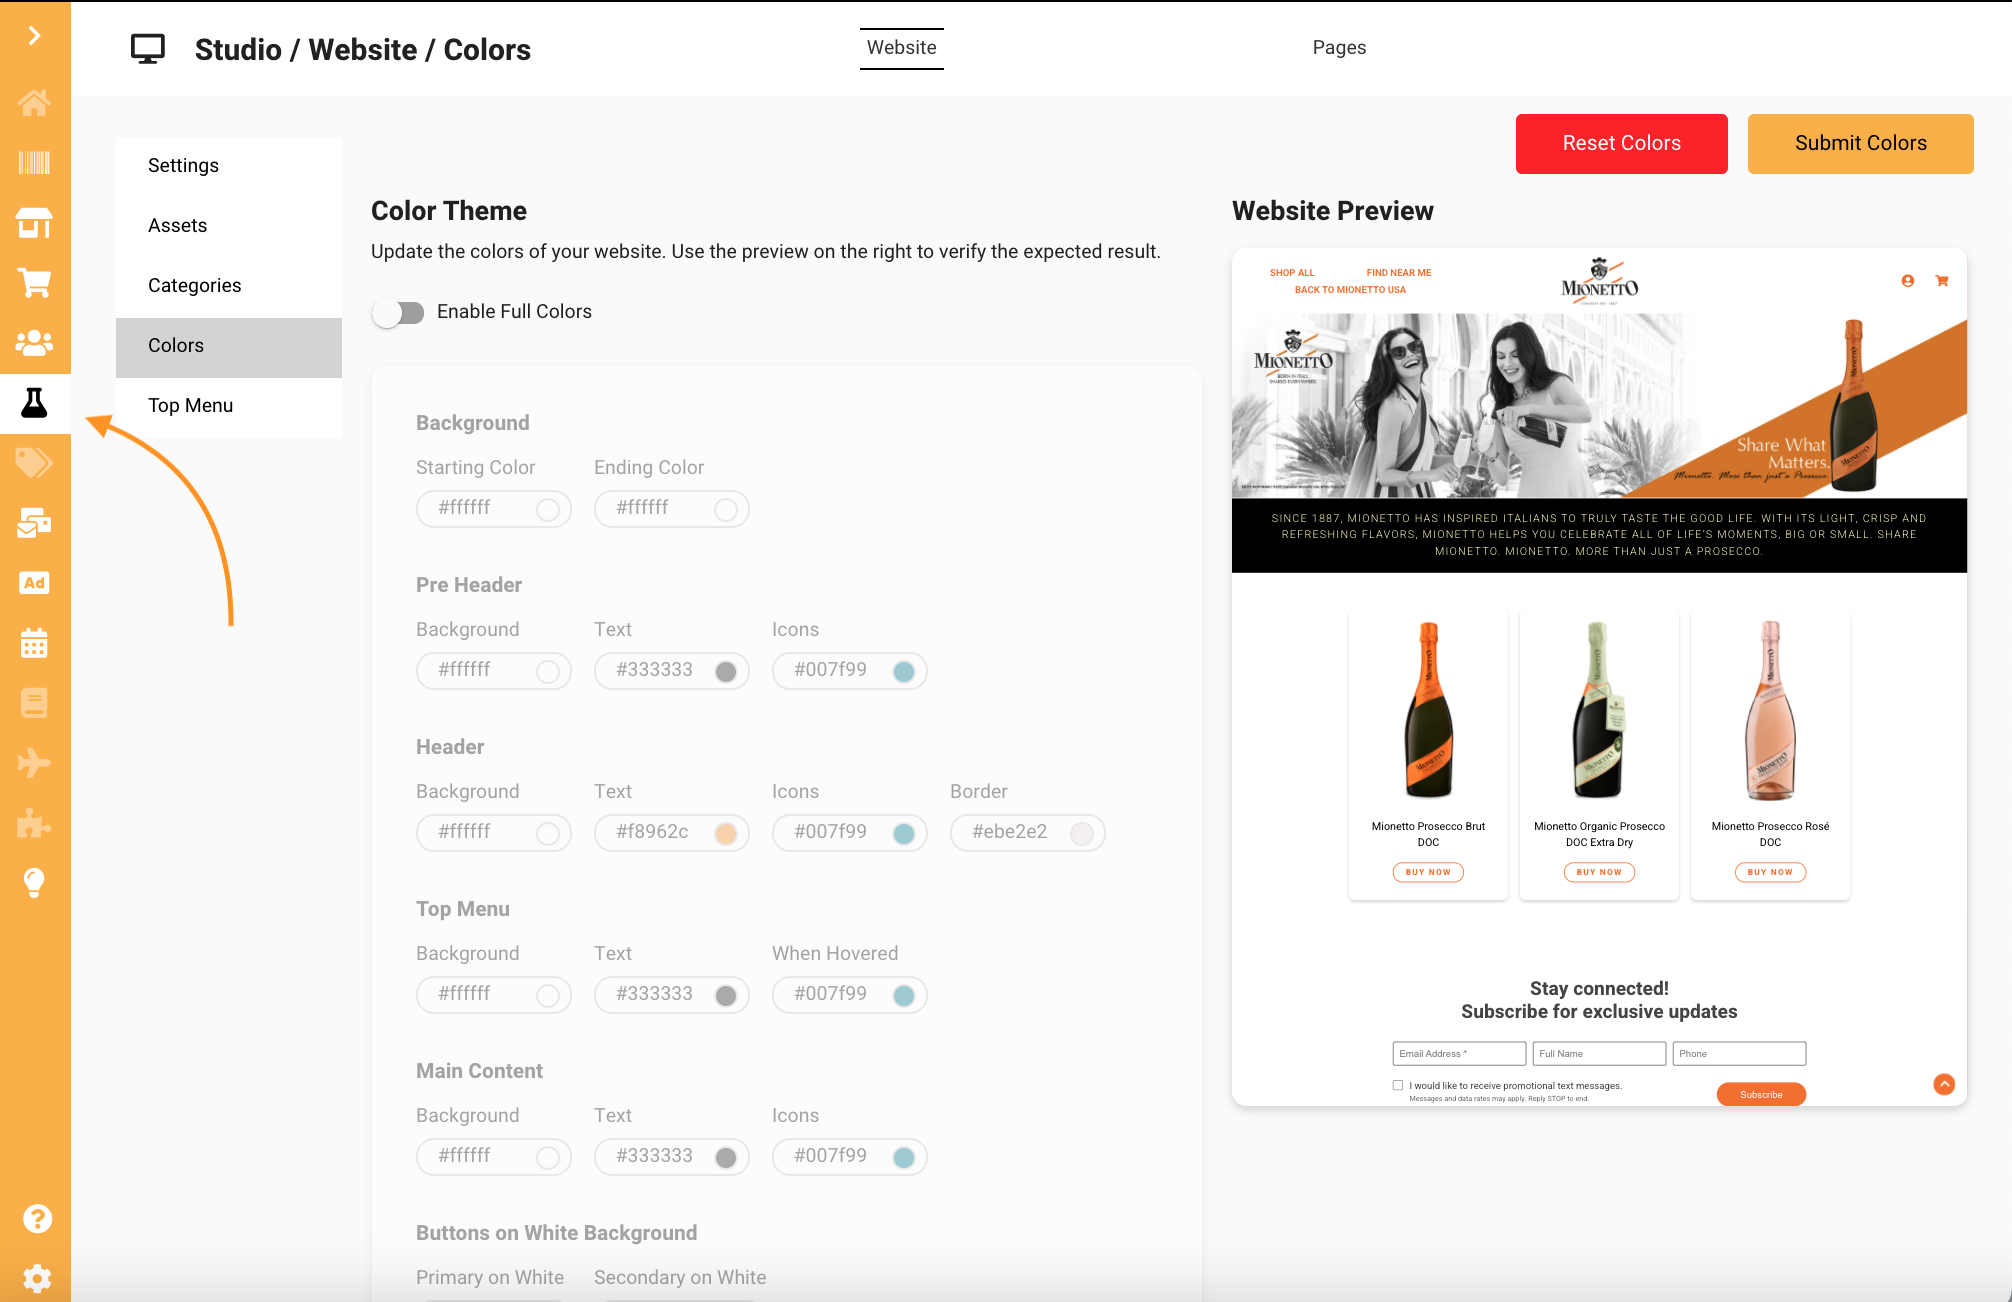
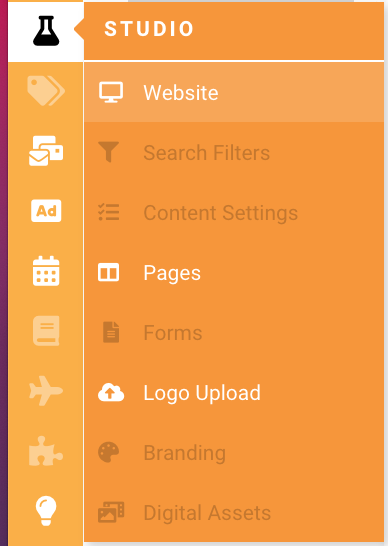
The Studio can be found under the "beaker" icon. You have three live options in this section: Website (manage website content and design); Pages (add new pages to site) and Upload Logo (a necessary step to creating the staging site).
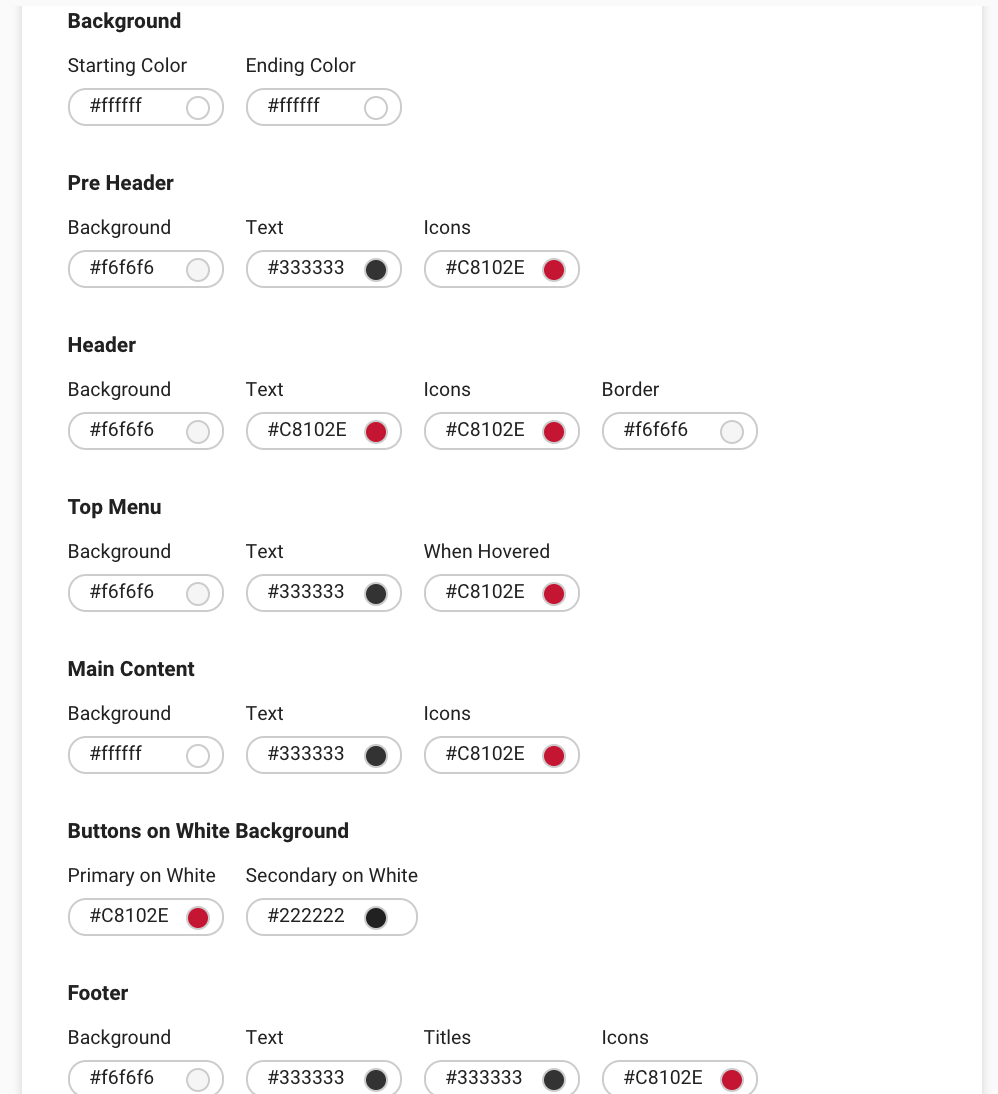
Change Colors
Edit Navigation (aka Top Menu)
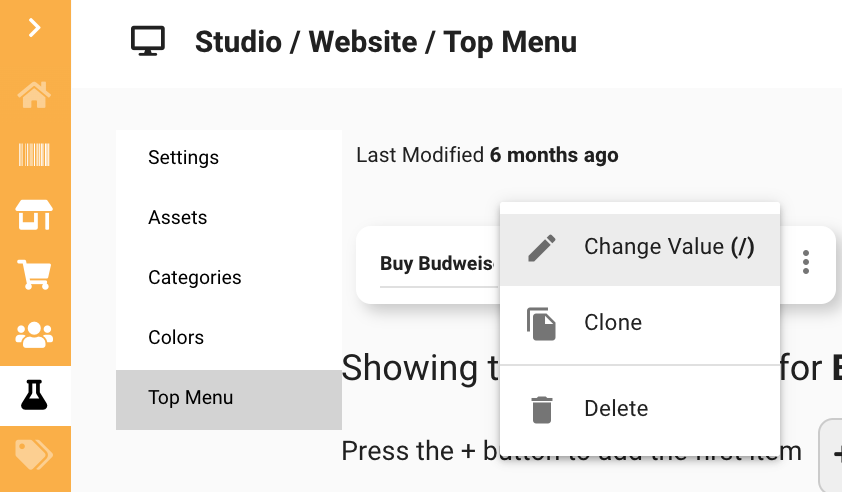
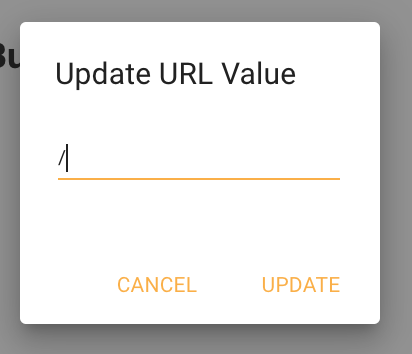
There are a couple of default paths that you should be aware of:
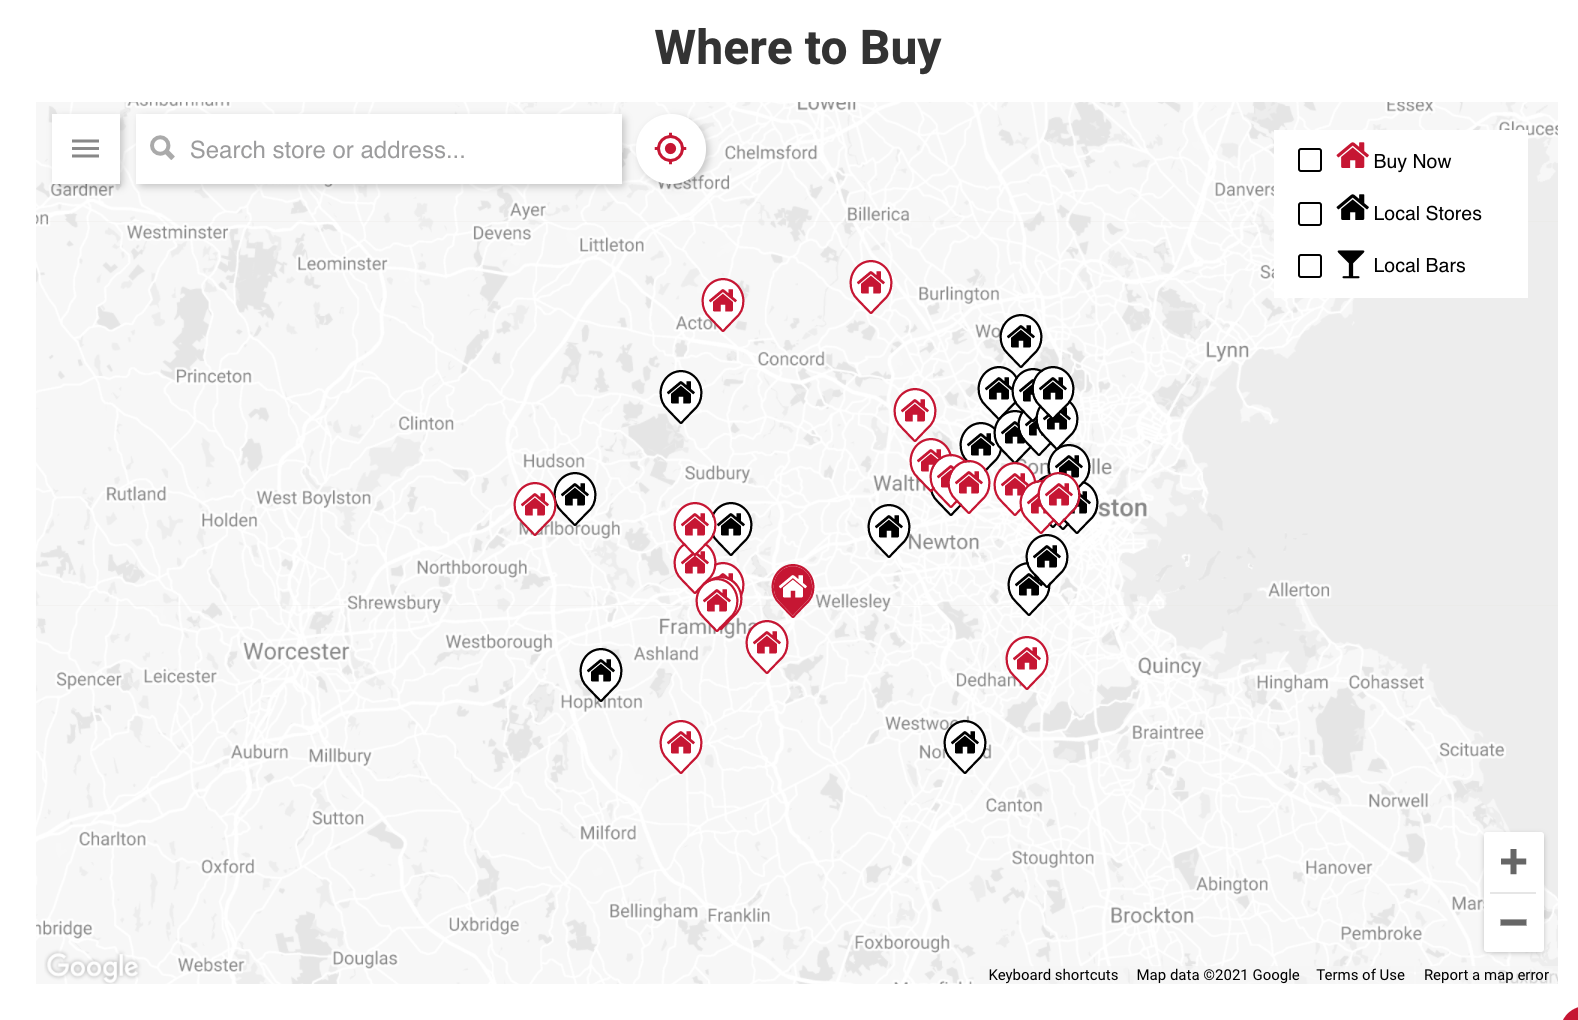
Where to Buy Map = /store-map
Shopping Page = /shop
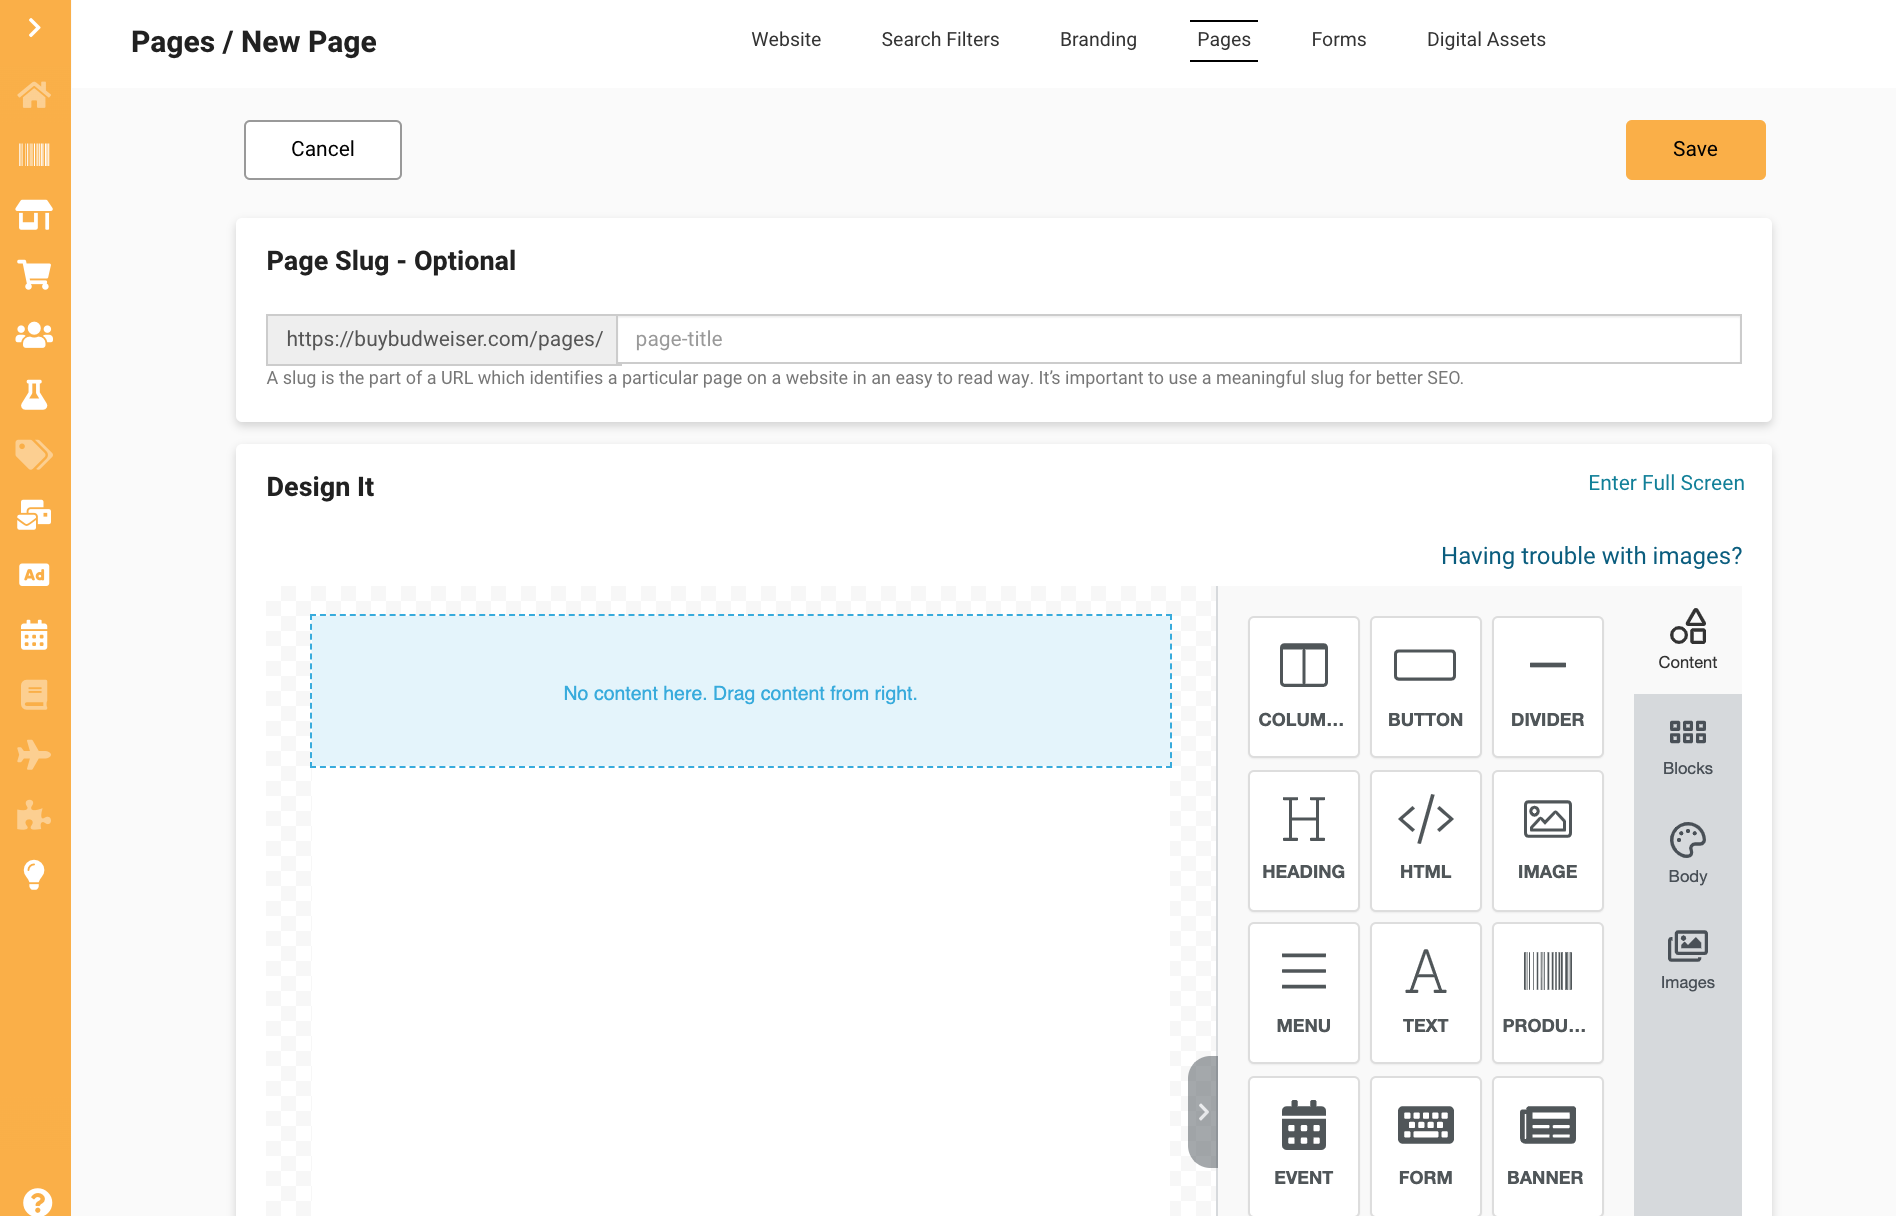
Add Pages
Each site defaults to having two pages: a shopping page and a "Where to Buy" map, but you can add more pages as well by using the "pages" function in the Studio. Here you add a new page. When you do, you can define the new path (aka "slug") and then design your page with drag and drop tools.
Add Hero Image
Use the Upload Hero tool to add a hero header image to your Connected. Currently this is done in the Promo Banner section, but this tool should be moving to the Studio section soon. If you need help with this feature in the meantime, contact support@cityhive.net
Arrange Home Page Content
In the Settings section of the Website, you can arrange an enable/ disable different features. 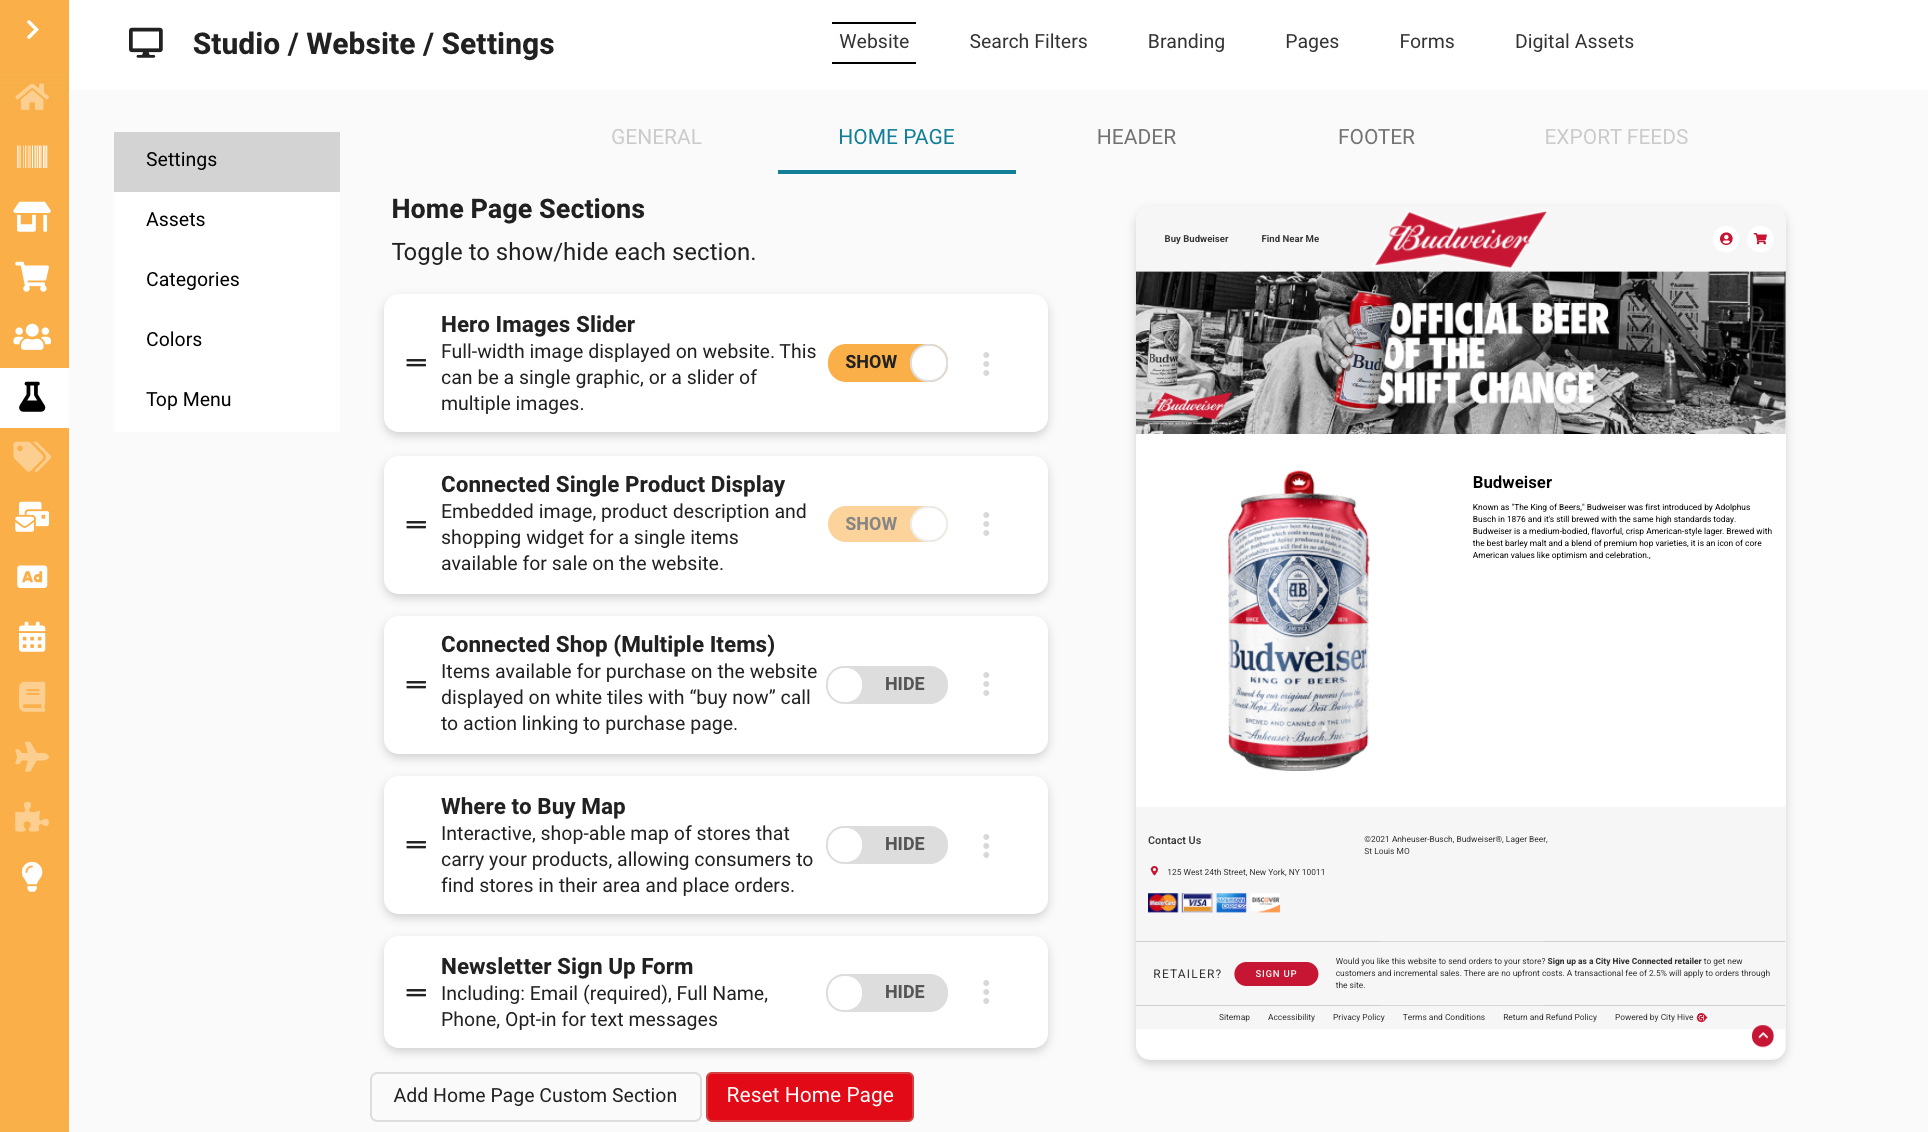
If you need any help customizing your website contact support@cityhive.net - our team would be happy to give you a 1:1 demo.