![City Hive Logo-2.png]](https://support.cityhive.net/hs-fs/hubfs/City%20Hive%20Logo-2.png?width=62&height=60&name=City%20Hive%20Logo-2.png)
-
Begin on the Events section
-
Click on (+) at the top right to view the drop down and select Create Event

-
Customize your event and fill in the details
-
Title: The title of the event
-
Time: Specify the start and end dates and whether it is a one-time or recurring event
-
Image: The cover image that your customers will see
-
Location: The location of the event
-
Link: Online link to the event in case it's being hosted virtually
-
Description: The description your customers will see
-
Contact Details: Your store information incase of questions/concerns
-
Event Registration: If you plan on offering free or paid tickets for the event, check the box, input the price, quantity and tax information
-
Products: Search and add products to your event. Ex: Add the bottles of wine that you will be tasting so that your customers can purchase them directly from your event on your app or website
-
Upload Events
You can bulk upload events with a CSV file, which saves time when adding many events at once. Just make sure your file includes all required fields before you start.
-
Select Upload Events

-
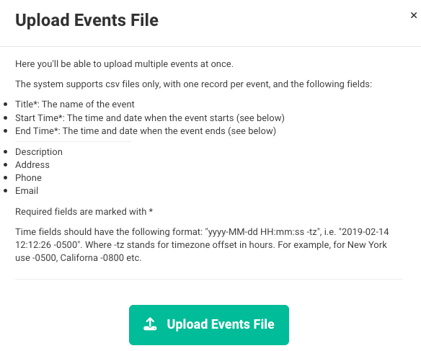
Make sure your CSV file includes the required Title, Start Time, and End Time fields for each event, then click Upload Events File
-
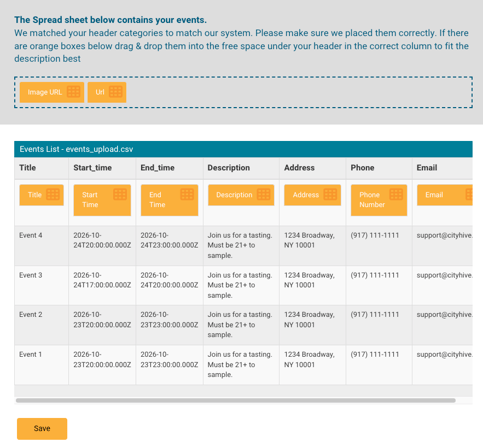
A pop up will appear showing how your CSV categories map to the dashboard. If any items are left unassigned, drag and drop them into the column that best matches then click save
-
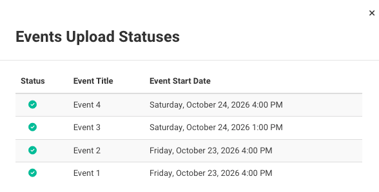
A confirmation pop up will appear once your events are uploaded. Click the X to close it
-
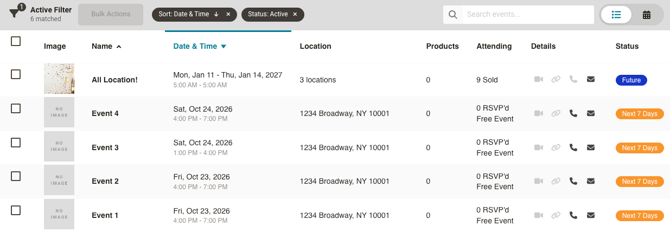
Your uploaded events will now appear in the list view
-
To see them by date, switch to the calendar view using the calendar icon in the top right corner
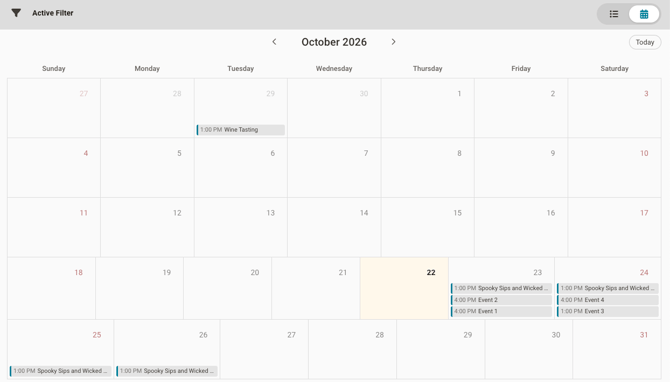
Events will populate directly to your Tastings & Events tab on the website!
If that tab does not currently exist on your site, you can follow this article to create a menu item and use the value /events.
Issuing a refund for an event ticket
-
Begin by clicking on the event where the customer made their purchase in the Event section
-
Click on Ticket Orders at the top next to Info

-
Find the customer by searching within the list displayed
-
Under Actions, click the Refund button next to the customer’s name

If you need to refund an event ticket, only full refunds can be issued at this time. If a partial refund is required, please email support@cityhive.net.