![City Hive Logo-2.png]](https://support.cityhive.net/hs-fs/hubfs/City%20Hive%20Logo-2.png?width=62&height=60&name=City%20Hive%20Logo-2.png)
Setting Up Quick Select Items (Hot Keys) (POS)
This training guides you through setting up Quick Select Items, also known as Hot Keys, to streamline your point-of-sale operations. By the end, you'll be able to tag frequently sold products for fast, one-tap access at the register.
1. What Are Quick Select Items?
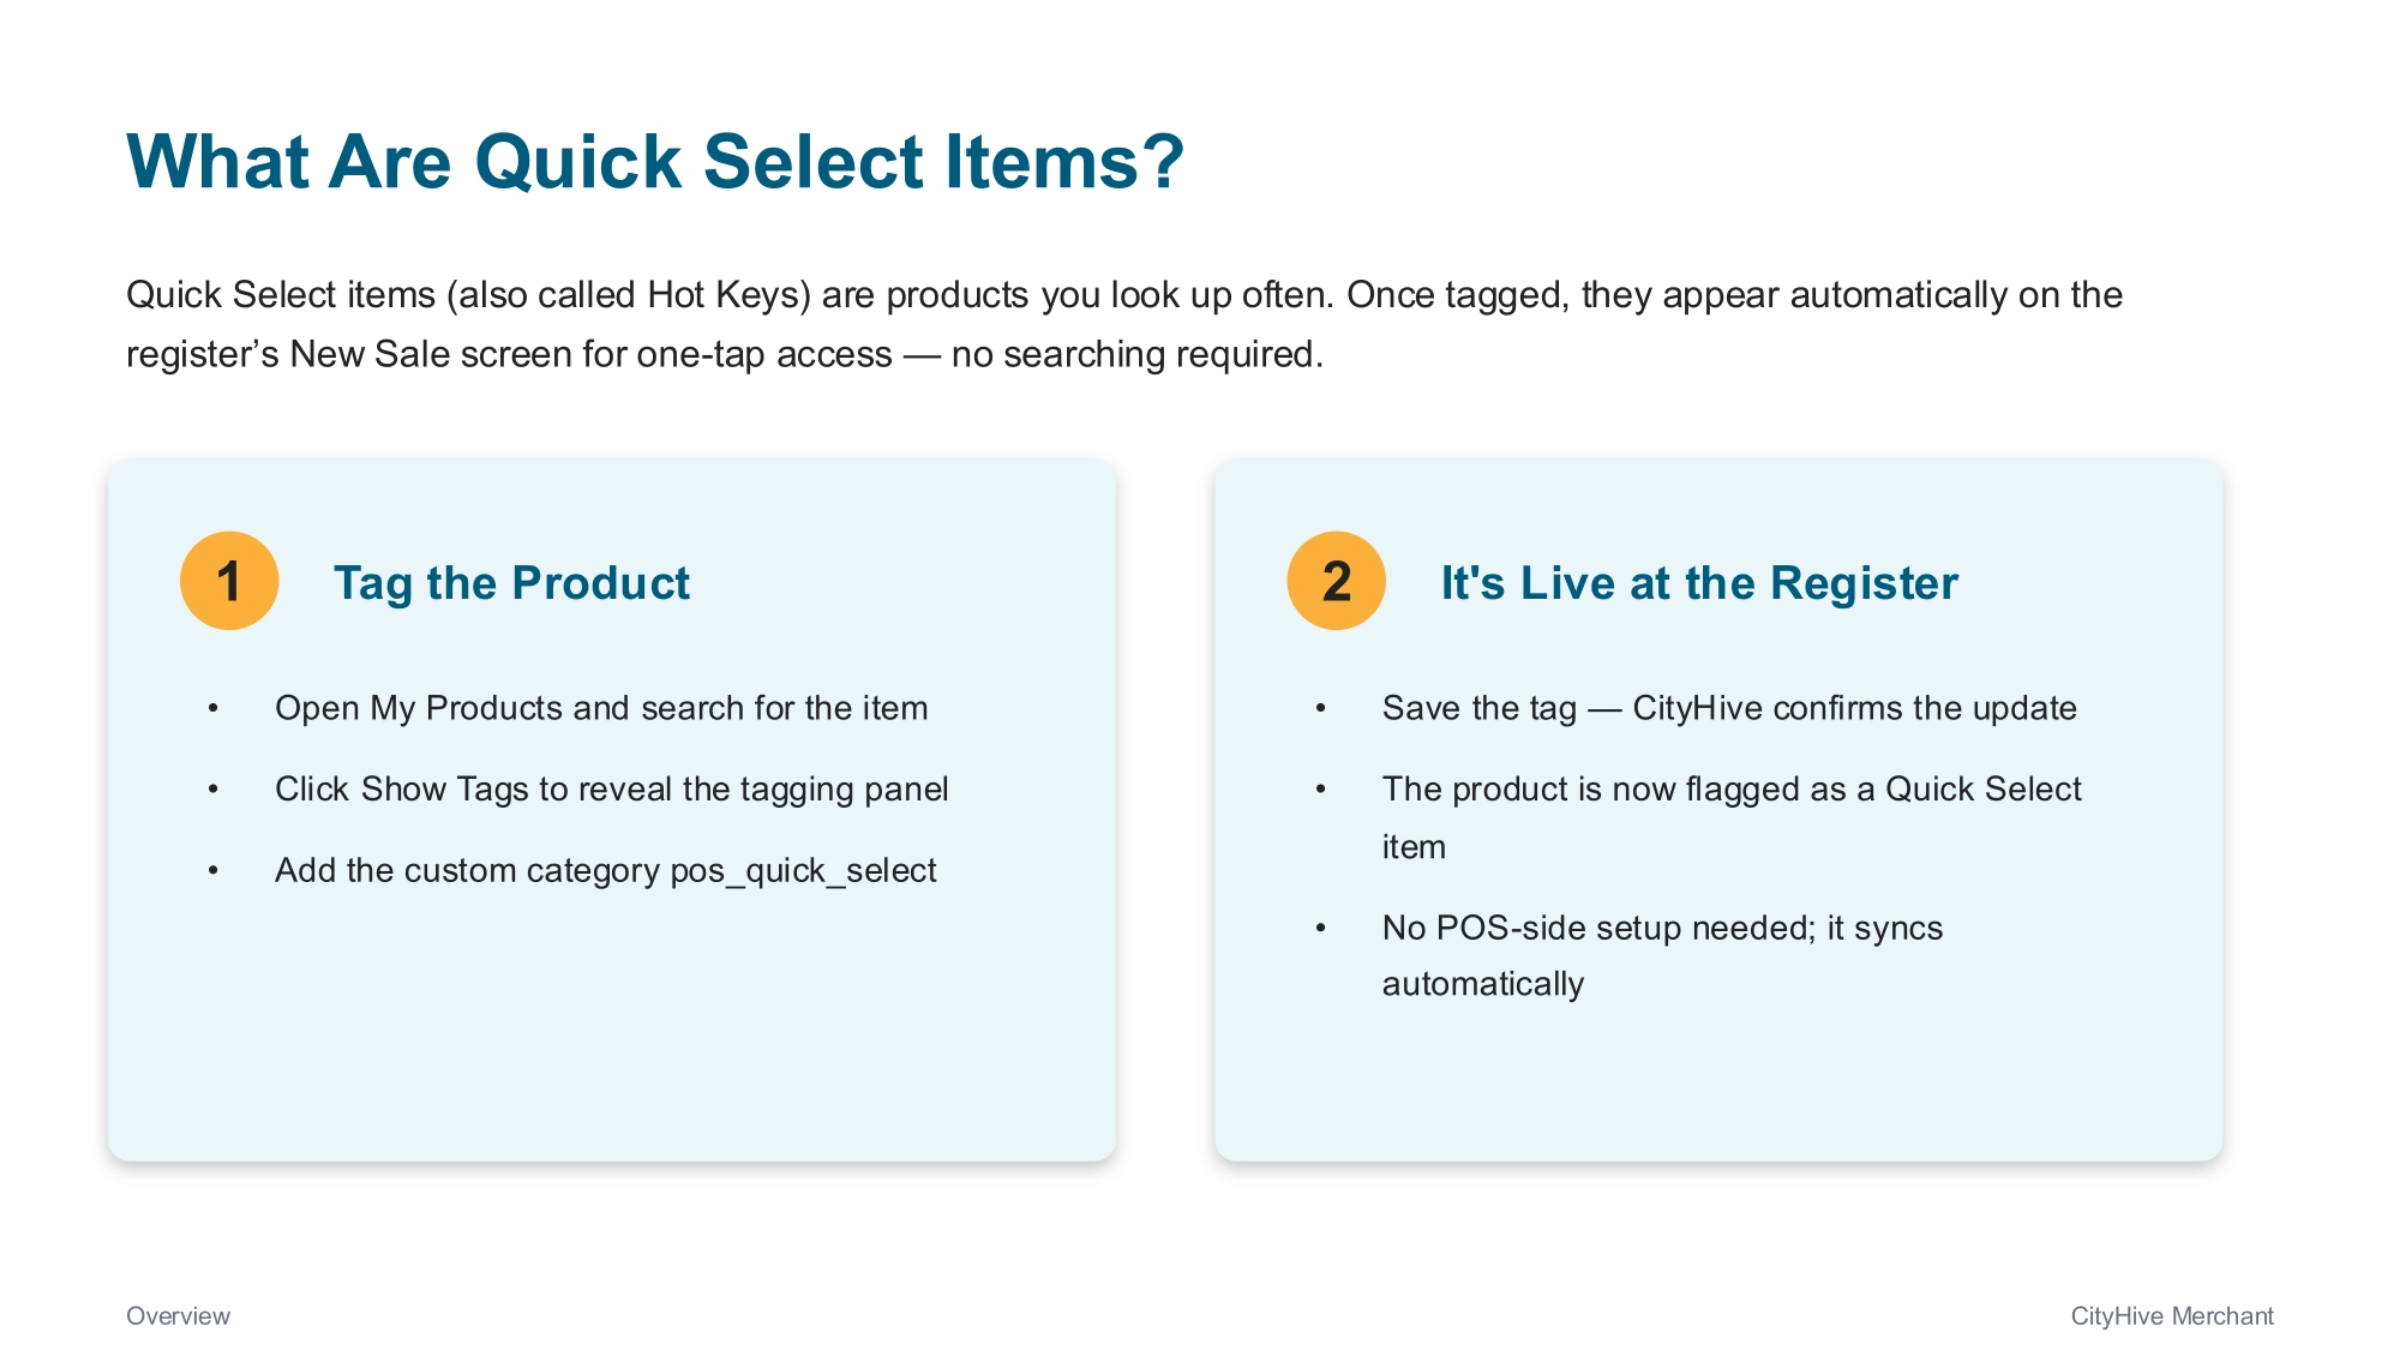
Quick Select Items, also known as Hot Keys, are essential for products frequently looked up. Once tagged, these items automatically appear on the register's New Sale screen, providing one-tap access without any searching. The process involves two main steps: first, tagging the product within My Products, and second, confirming it's live and accessible at the register.
2. Start at the Register
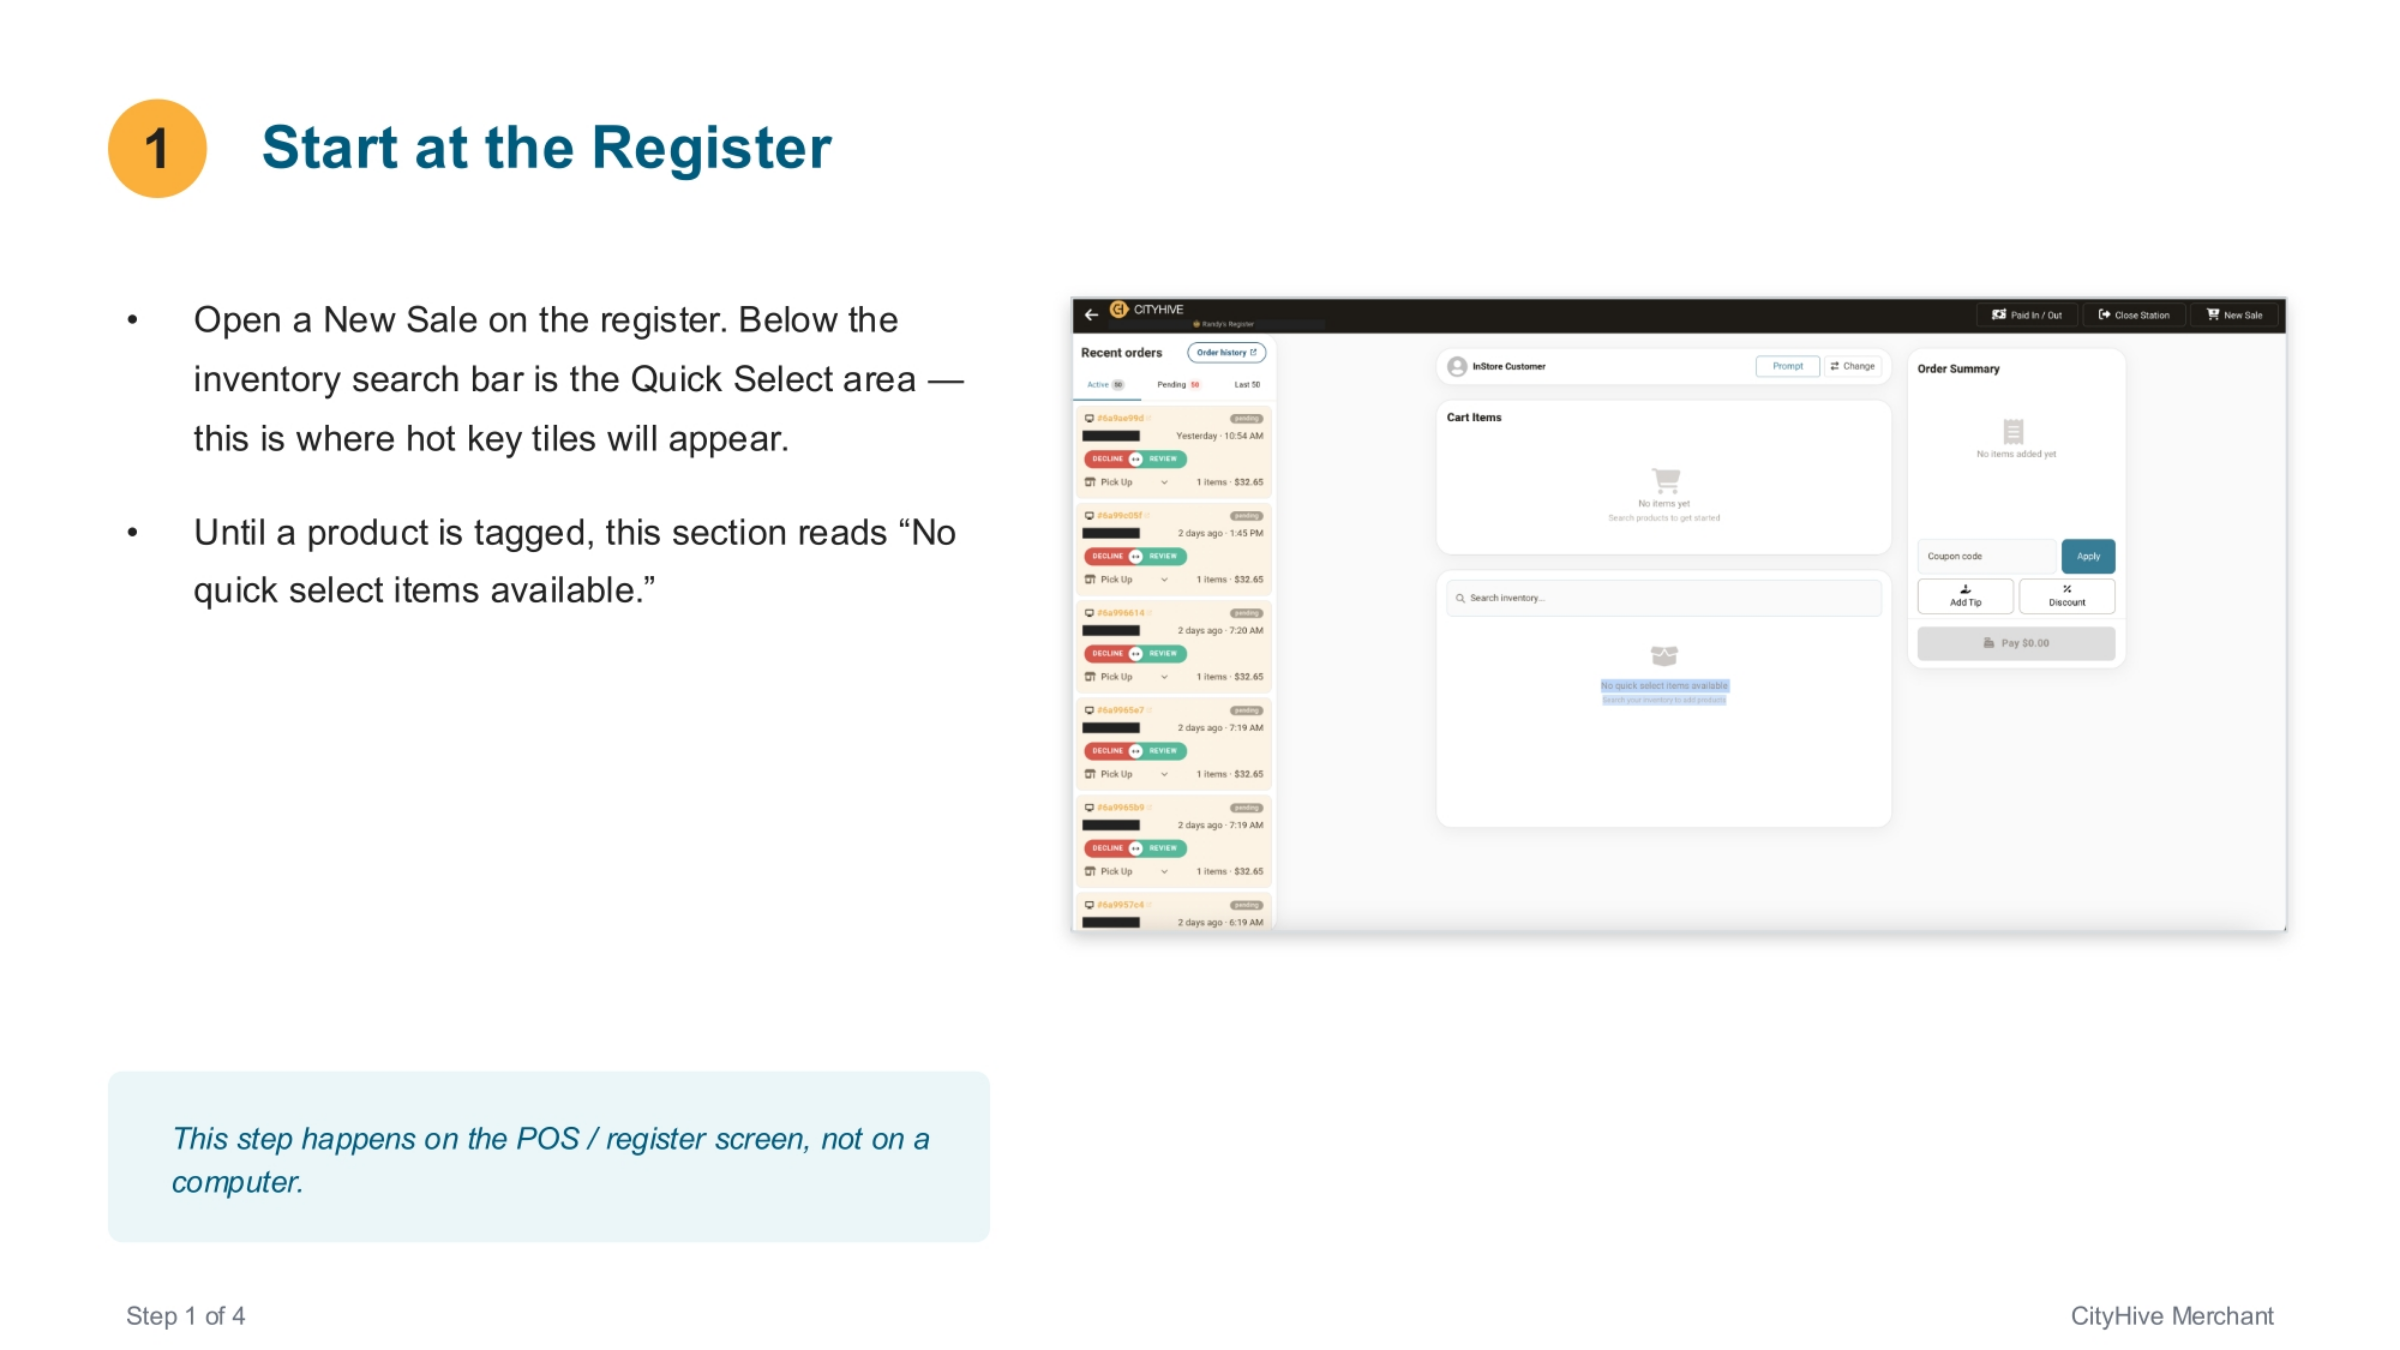
To begin, navigate to the register and open a new sale. You'll notice a dedicated Quick Select area located below the inventory search bar, which is where your hot key tiles will eventually appear. Initially, until a product is successfully tagged, this section will display a message indicating that no quick select items are currently available. This entire step is performed directly on the POS or register screen, not on a separate computer.
3. Find the Product in My Products
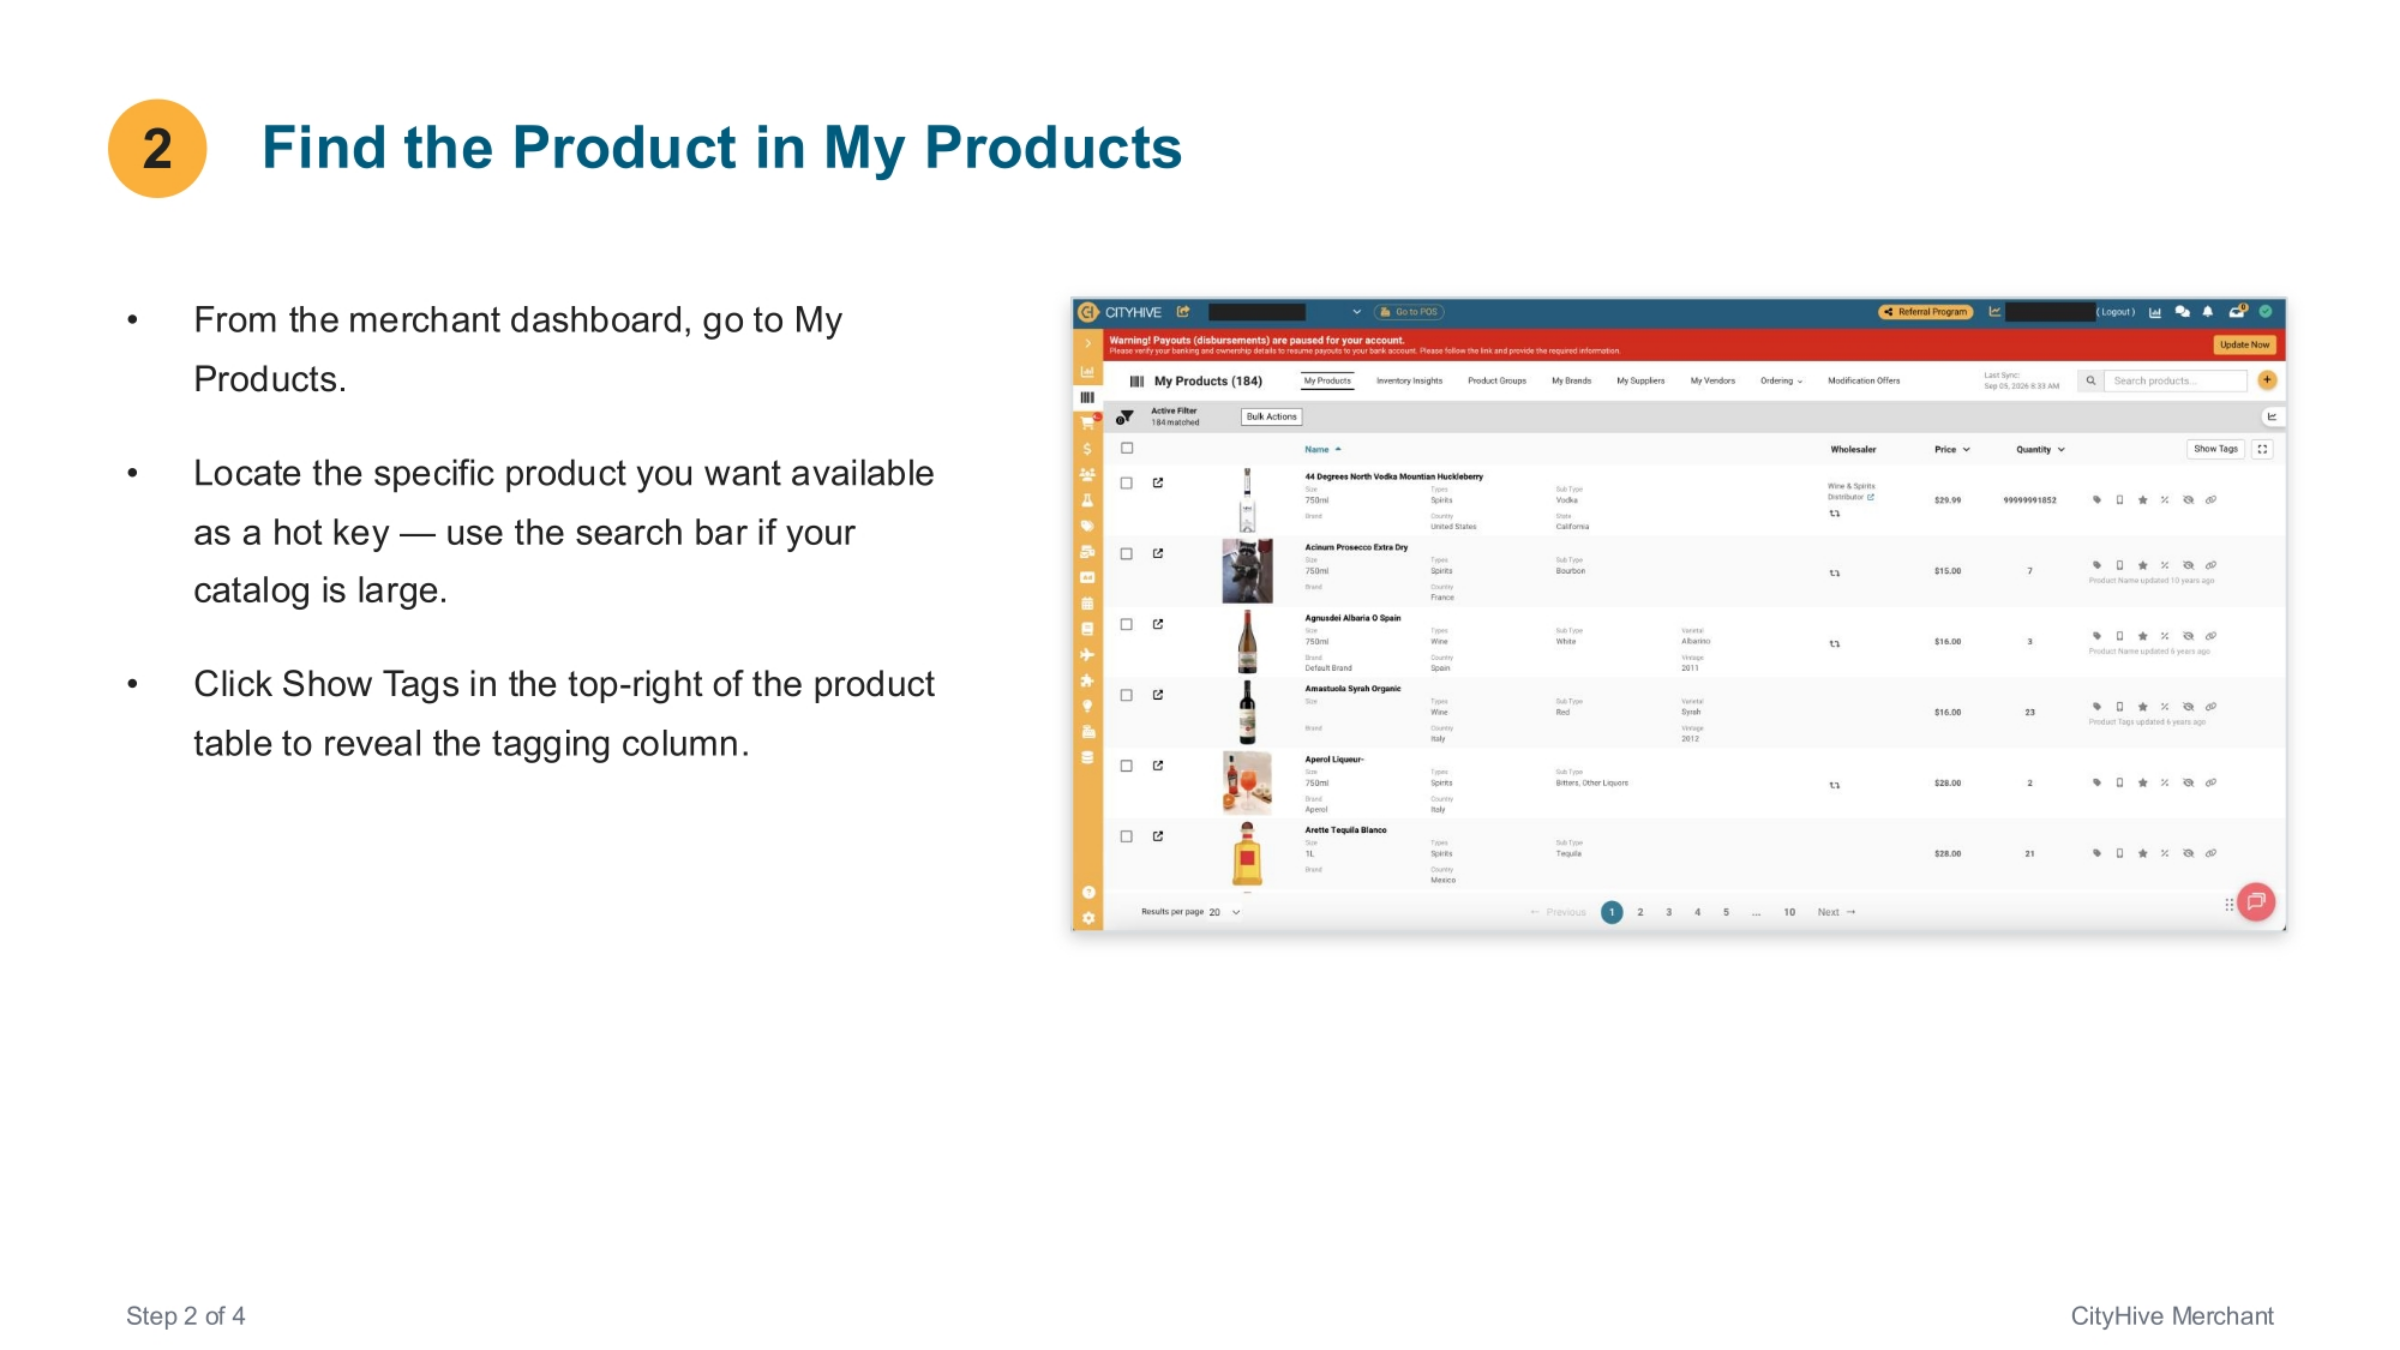
The next step is to find the specific product you wish to designate as a hot key. From your merchant dashboard, proceed to the "My Products" section. If you have an extensive catalog, utilize the search bar to quickly locate the item. Once found, click "Show Tags" in the top-right corner of the product table to reveal the tagging column, preparing it for the next action.
4. Add the pos_quick_select Tag
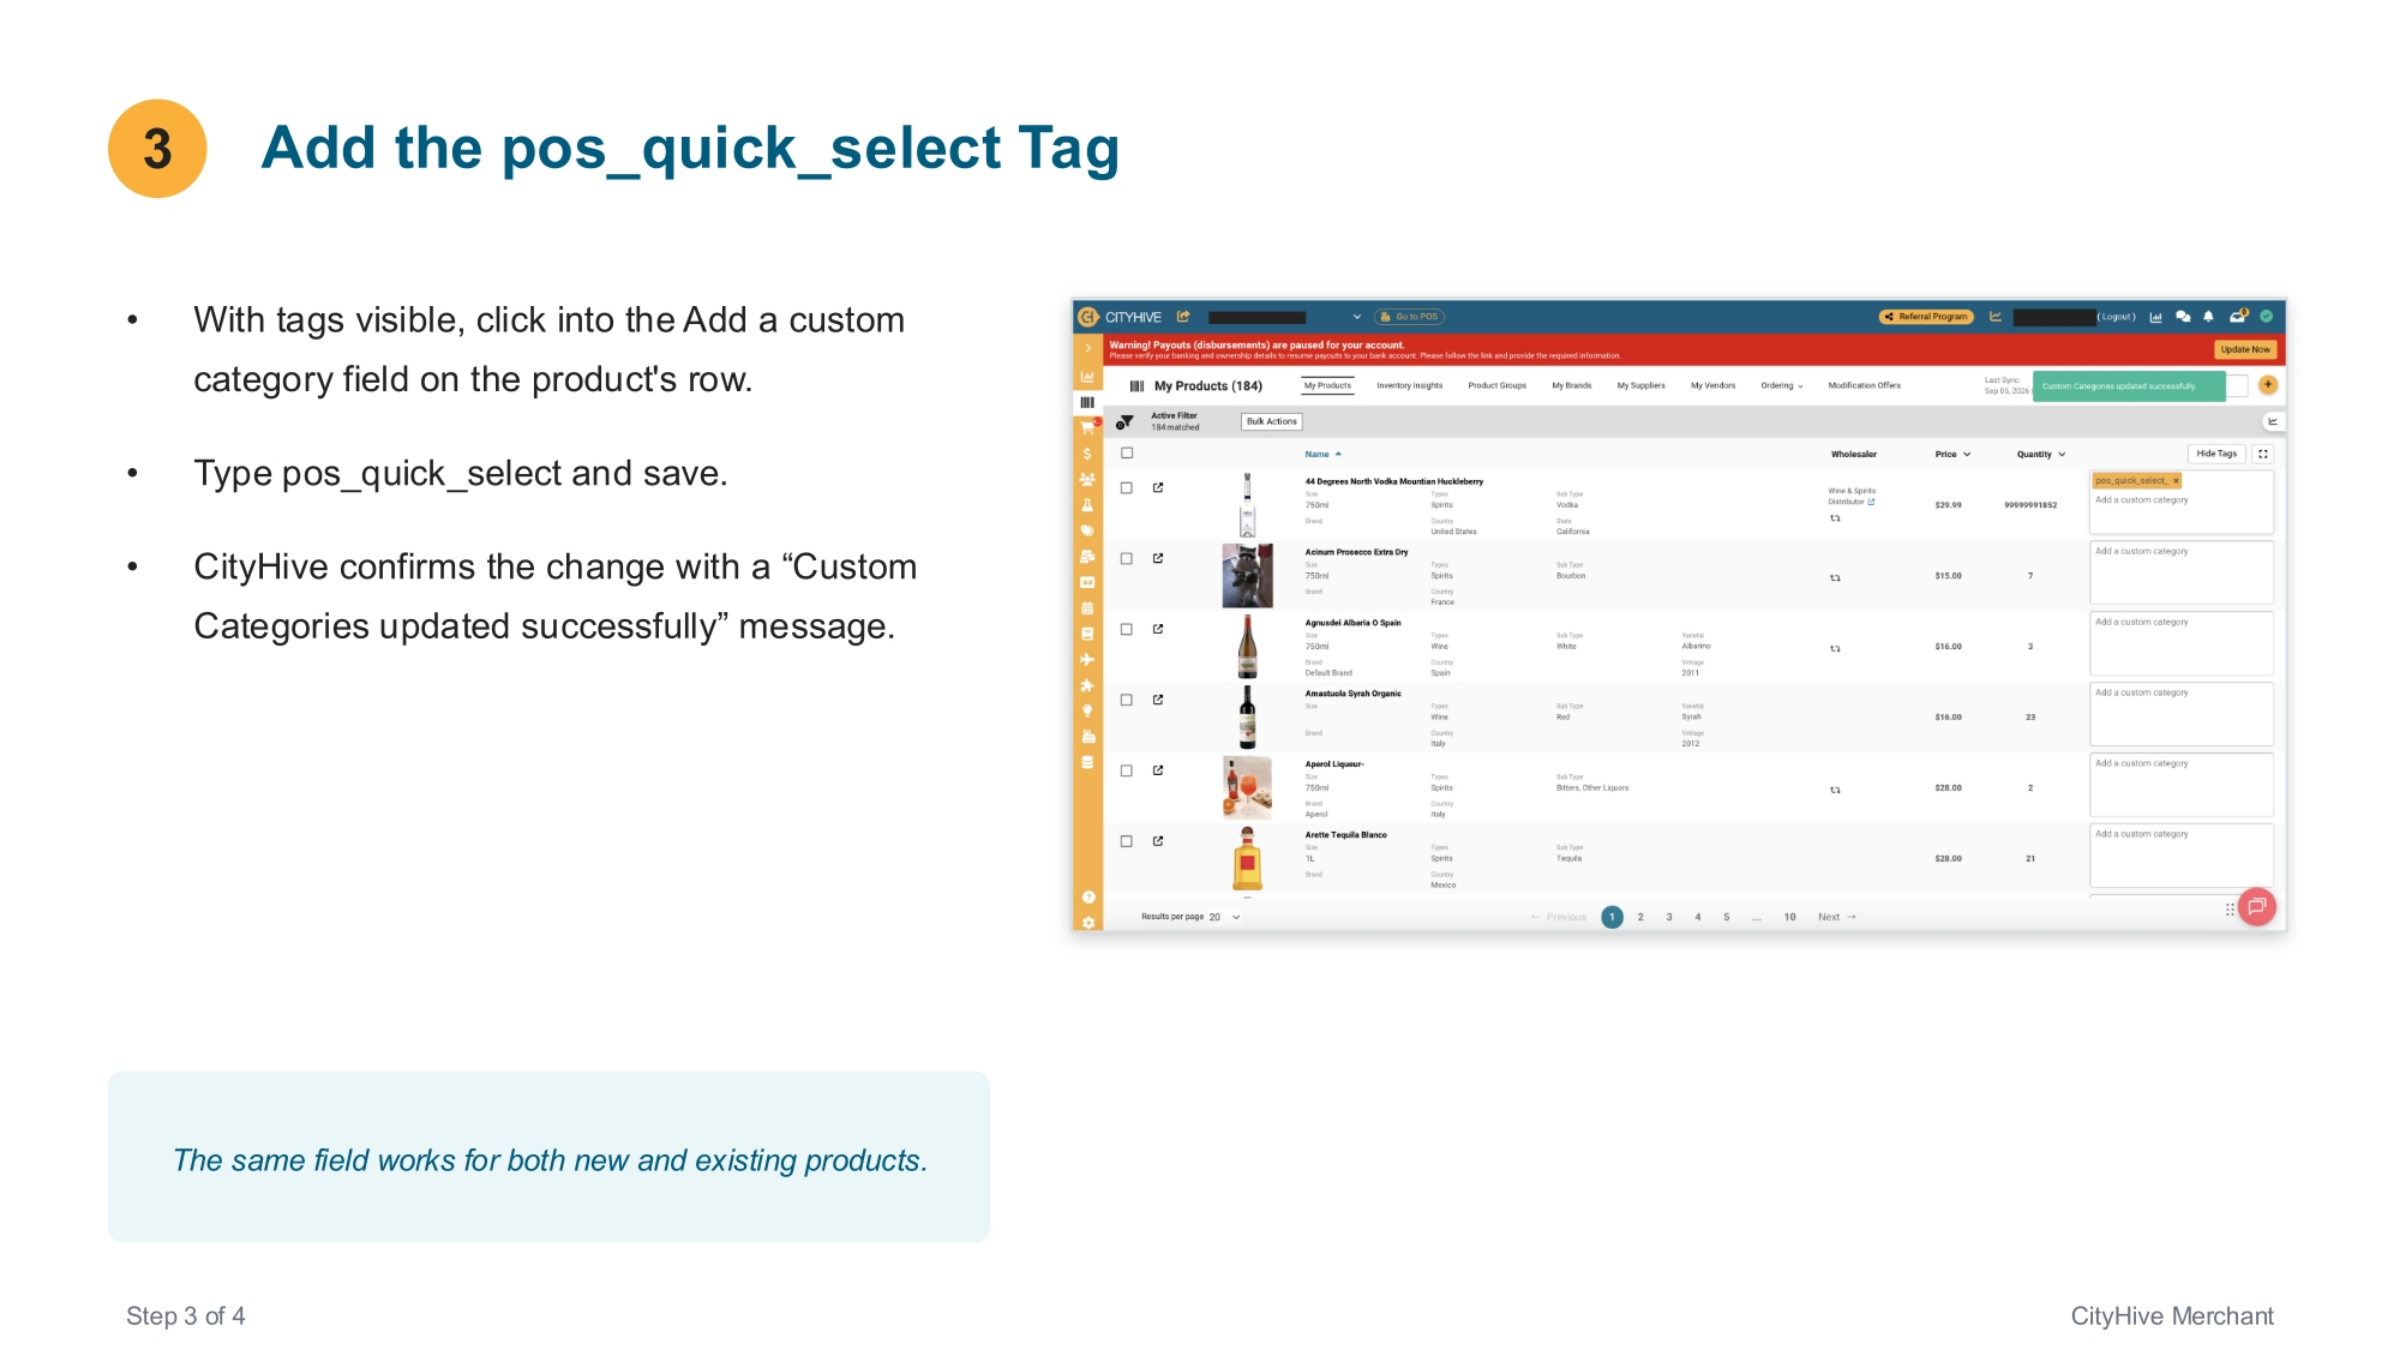
With the tagging column now visible, click into the "Add a custom category" field located on the product's row. Here, you will type in the specific tag: pos_quick_select, and then save your changes. CityHive will confirm this update with a "Custom Categories updated successfully" message, indicating the tag has been applied. This field works seamlessly for both new products and existing inventory.
5. Confirm It's Ready on the Register
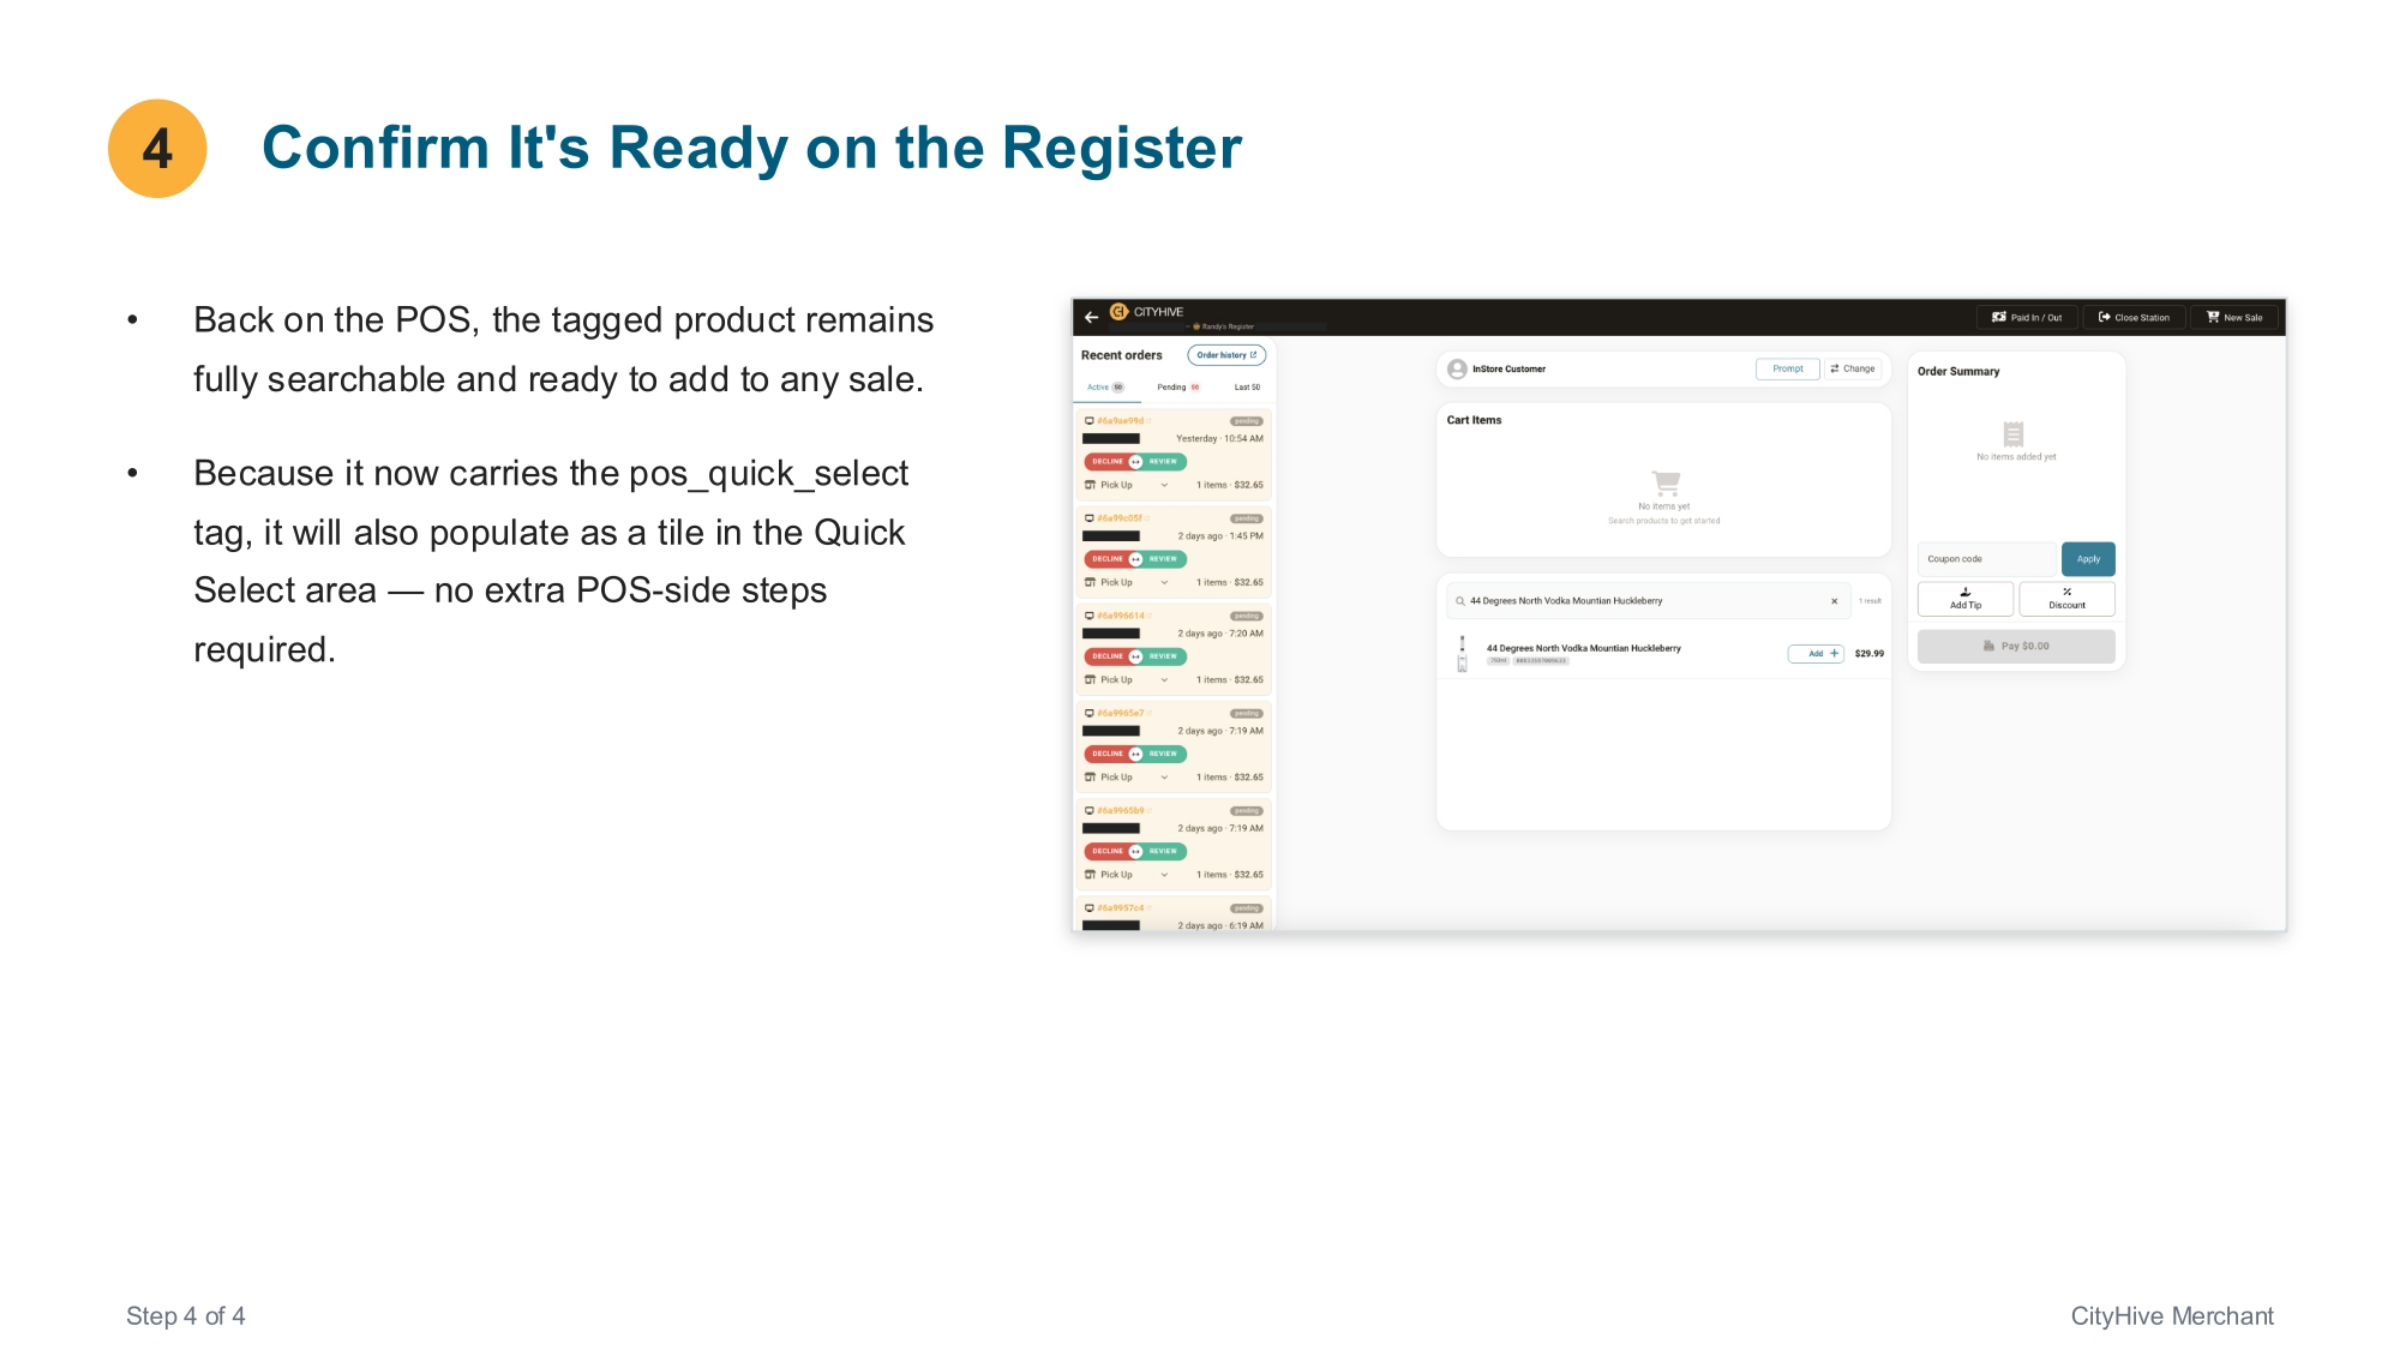
Finally, return to the Point of Sale to confirm that your product is ready. The newly tagged item remains fully searchable and can be added to any sale as usual. Crucially, because it now carries the pos_quick_select tag, it will automatically populate as a tile within the Quick Select area, eliminating the need for any additional POS-side setup steps.
6. Recap
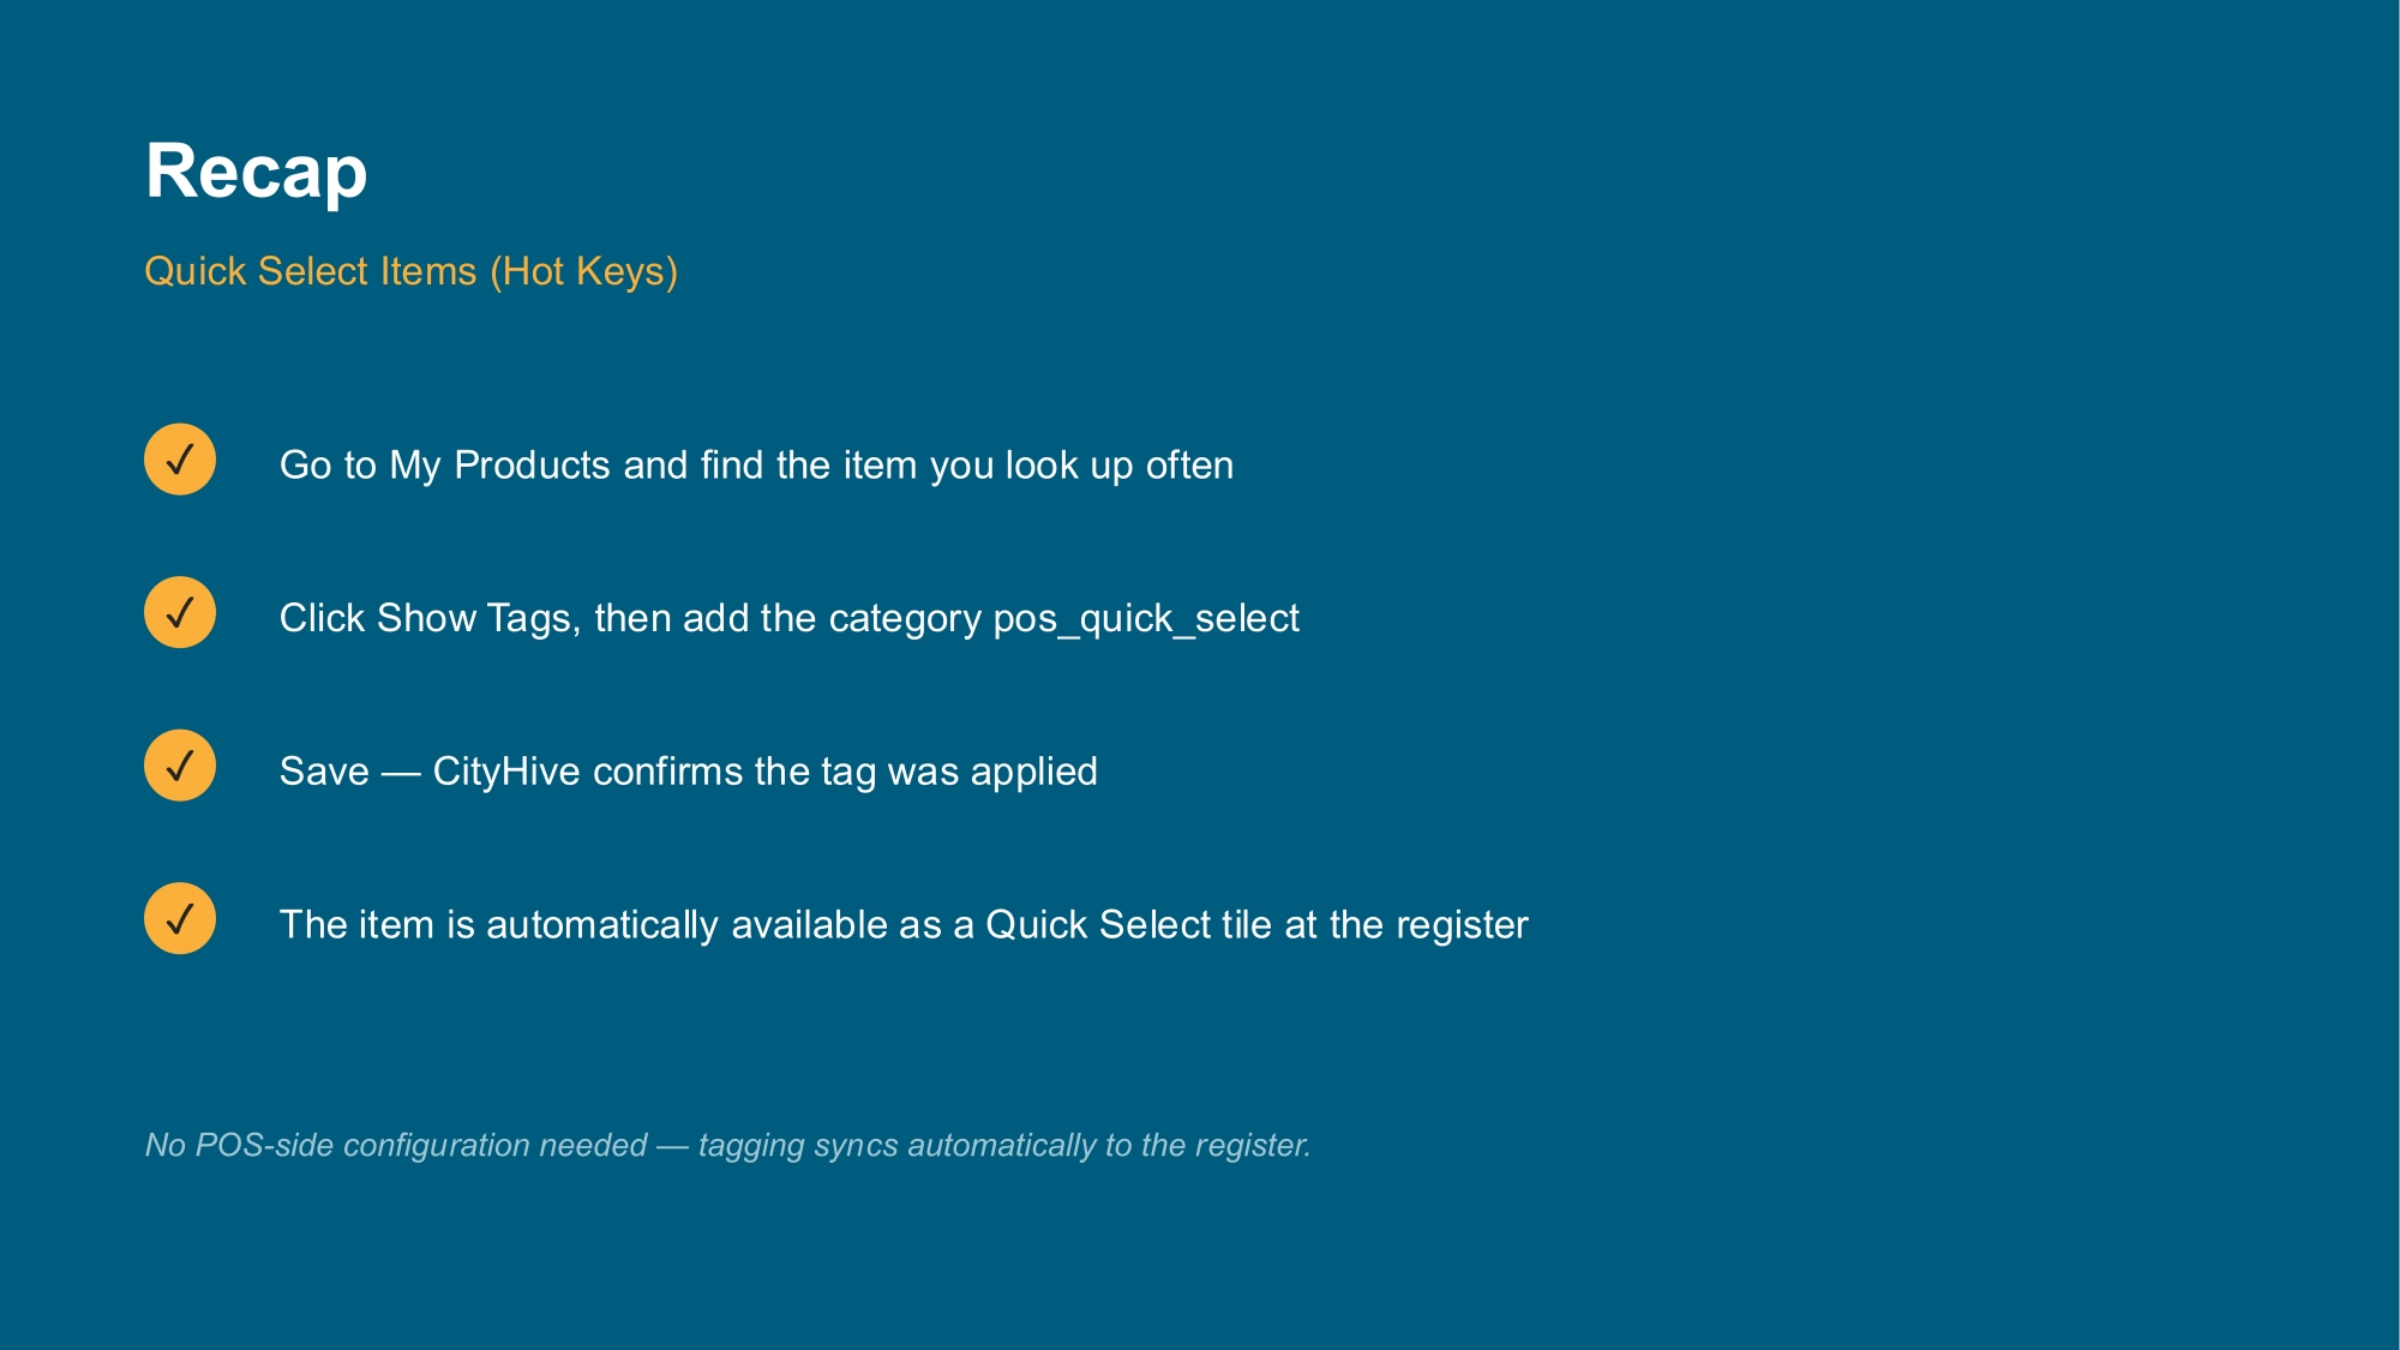
To recap, the process involves finding your item in My Products, adding the pos_quick_select tag, and saving. CityHive confirms the tag, making the item automatically available as a Quick Select tile at the register without any additional configuration.