![City Hive Logo-2.png]](https://support.cityhive.net/hs-fs/hubfs/City%20Hive%20Logo-2.png?width=62&height=60&name=City%20Hive%20Logo-2.png)
-
Begin on the Campaign section under Marketing

-
Click on (+) next to the search bar to view the dropdown

-
Select the first icon to create a new campaign

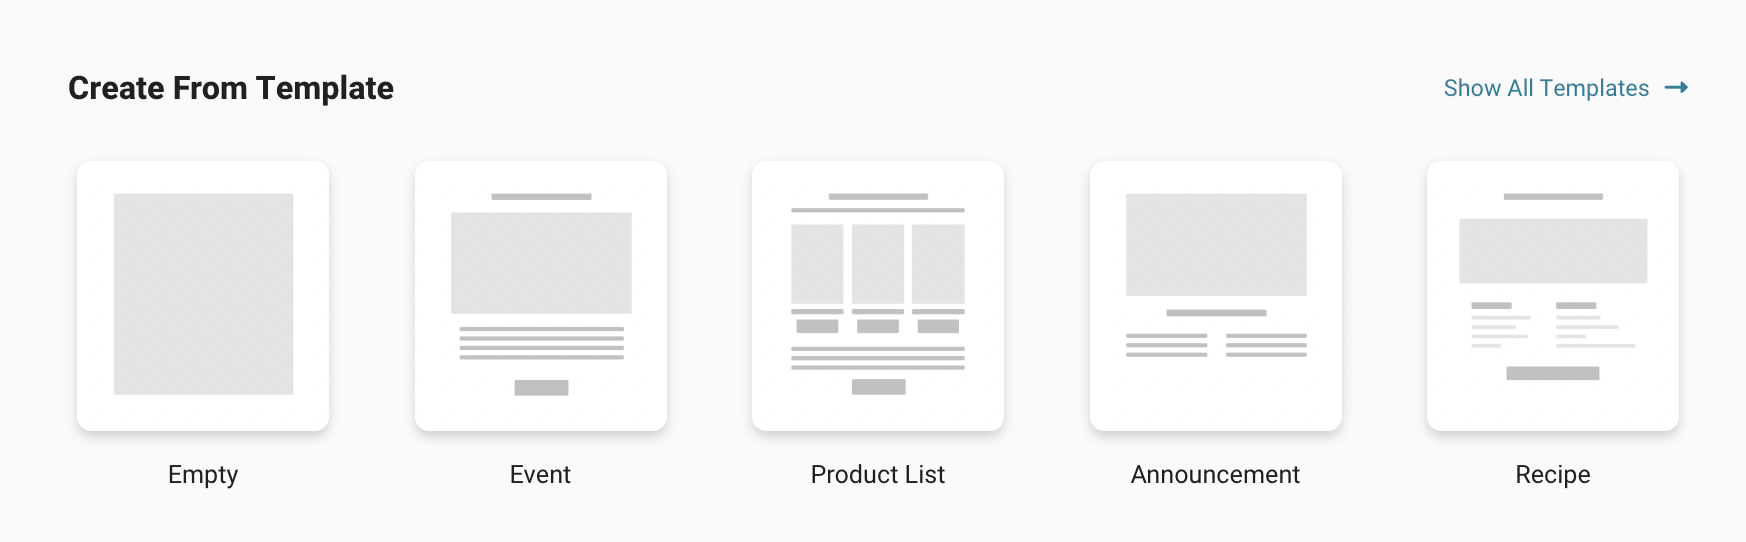
-
Choose an existing email template to build from
-
Configure your email:
-
Describe Your Campaign: The description is for your own personal reference and will not be shown to your customers. This is a great place to put any reminders that will help you with bookkeeping
-
Send To: Use this section to choose which group should receive the campaign by applying filters or selecting a predefined customer group. For more guidance on using the filters, please refer to our help article here
-
You can send to all customers, or you can select a specific customer group from the drop down list. Ex: You can send the email campaign to your store's "Wine Lover's" List
-
-
Sender Info: If you’d like to send emails using your own domain, please refer to our help article here for setup instructions. Otherwise, the sender email will default to do-not-reply@cityhive.net
-
Subject Line: Create a subject line for the email campaign
-
Preview Text: Preview text in the email box of your customers
-
Target Products: Select Products that are referenced in this campaign
-
Design It: Use the built-in editor to design your email by simply dragging and dropping content elements from the right panel into your email layout. For guidance on how to use the editor, please refer to our help article here

You can also use one of the available templates by clicking the link at the top left of the screen if you’d prefer not to start from scratch and would like to reuse the layout from a previous email.


-
-
Scroll up to the top to save the campaign

-
Once saved, you will be redirected to view the list of campaigns that you have created
-
Click into the one you would like to send out or schedule for later to modify the time as you wish
-
Send or schedule your campaign by selecting “Send Now!” or “Schedule for Later” if you’d like to choose a different time. You can also access additional options by clicking the three dot menu
