![City Hive Logo-2.png]](https://support.cityhive.net/hs-fs/hubfs/City%20Hive%20Logo-2.png?width=62&height=60&name=City%20Hive%20Logo-2.png)
Print A Shelf Label From "Inventory Insights" (POS)
This training provides essential information on how to efficiently generate shelf labels using CityHive's Inventory Insights. We will guide you through each step, from locating a product to printing its label, ensuring accuracy and ease of use.
1. Overview of Shelf Label Printing
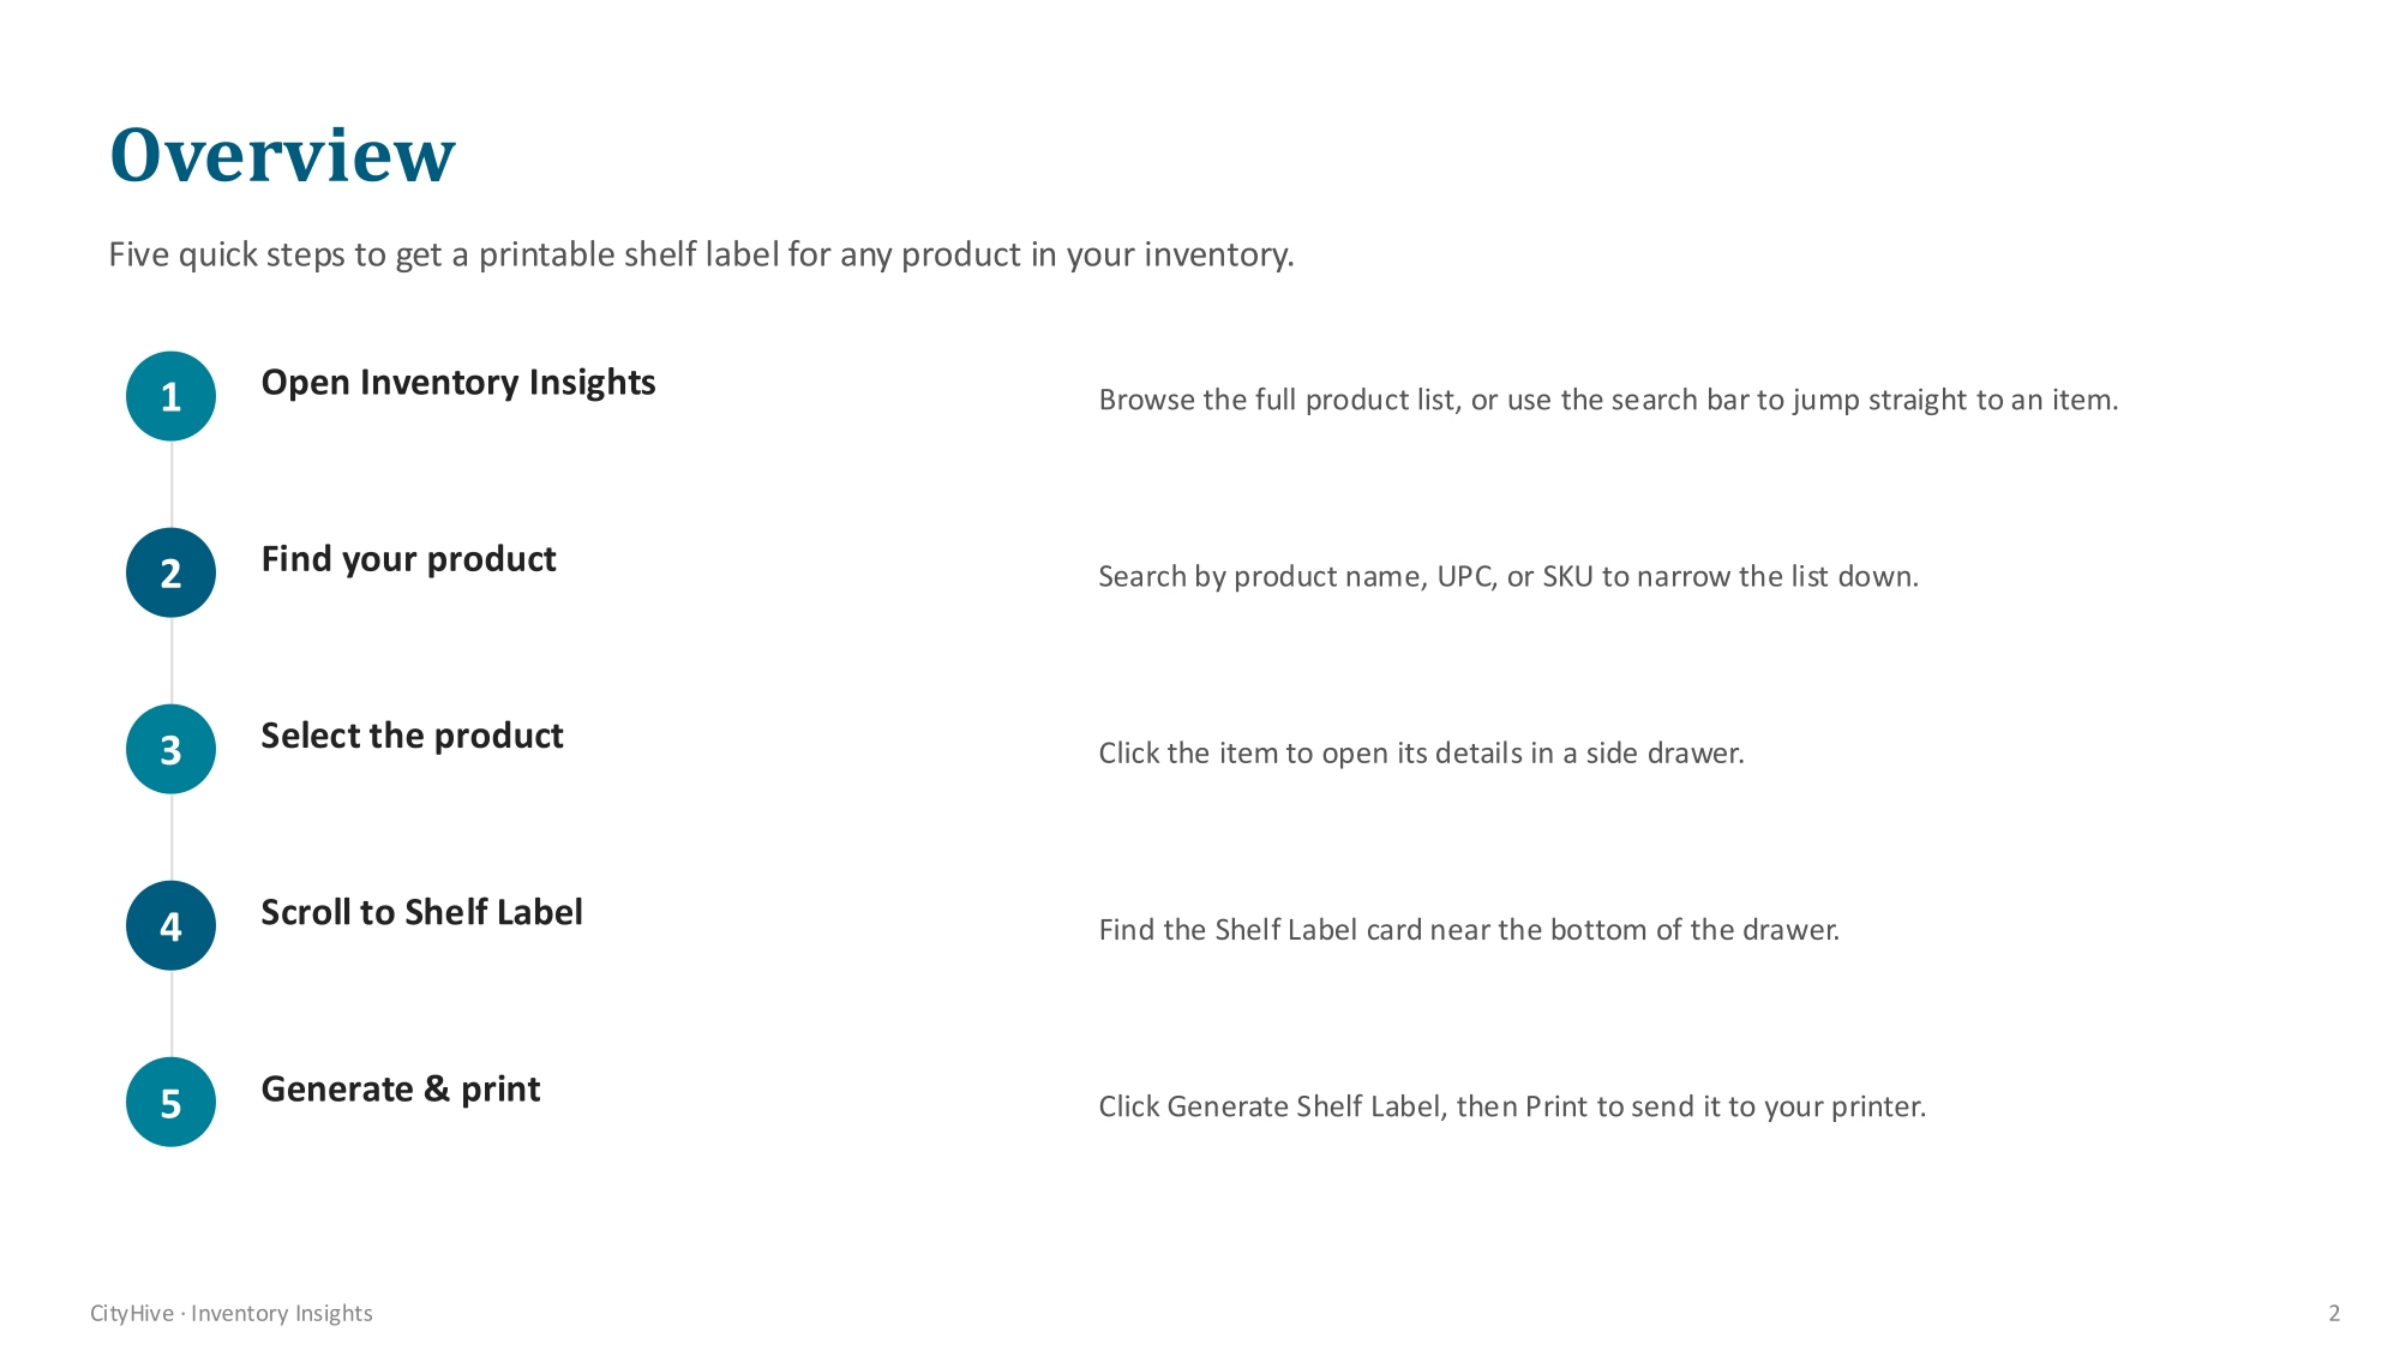
Printing a shelf label for any product in your inventory is a straightforward process, broken down into five quick steps. First, you'll open Inventory Insights, then find and select your desired product. After that, you'll scroll to the Shelf Label section and finally, generate and print the label. This streamlined workflow ensures efficiency and accuracy.
2. Opening Inventory Insights
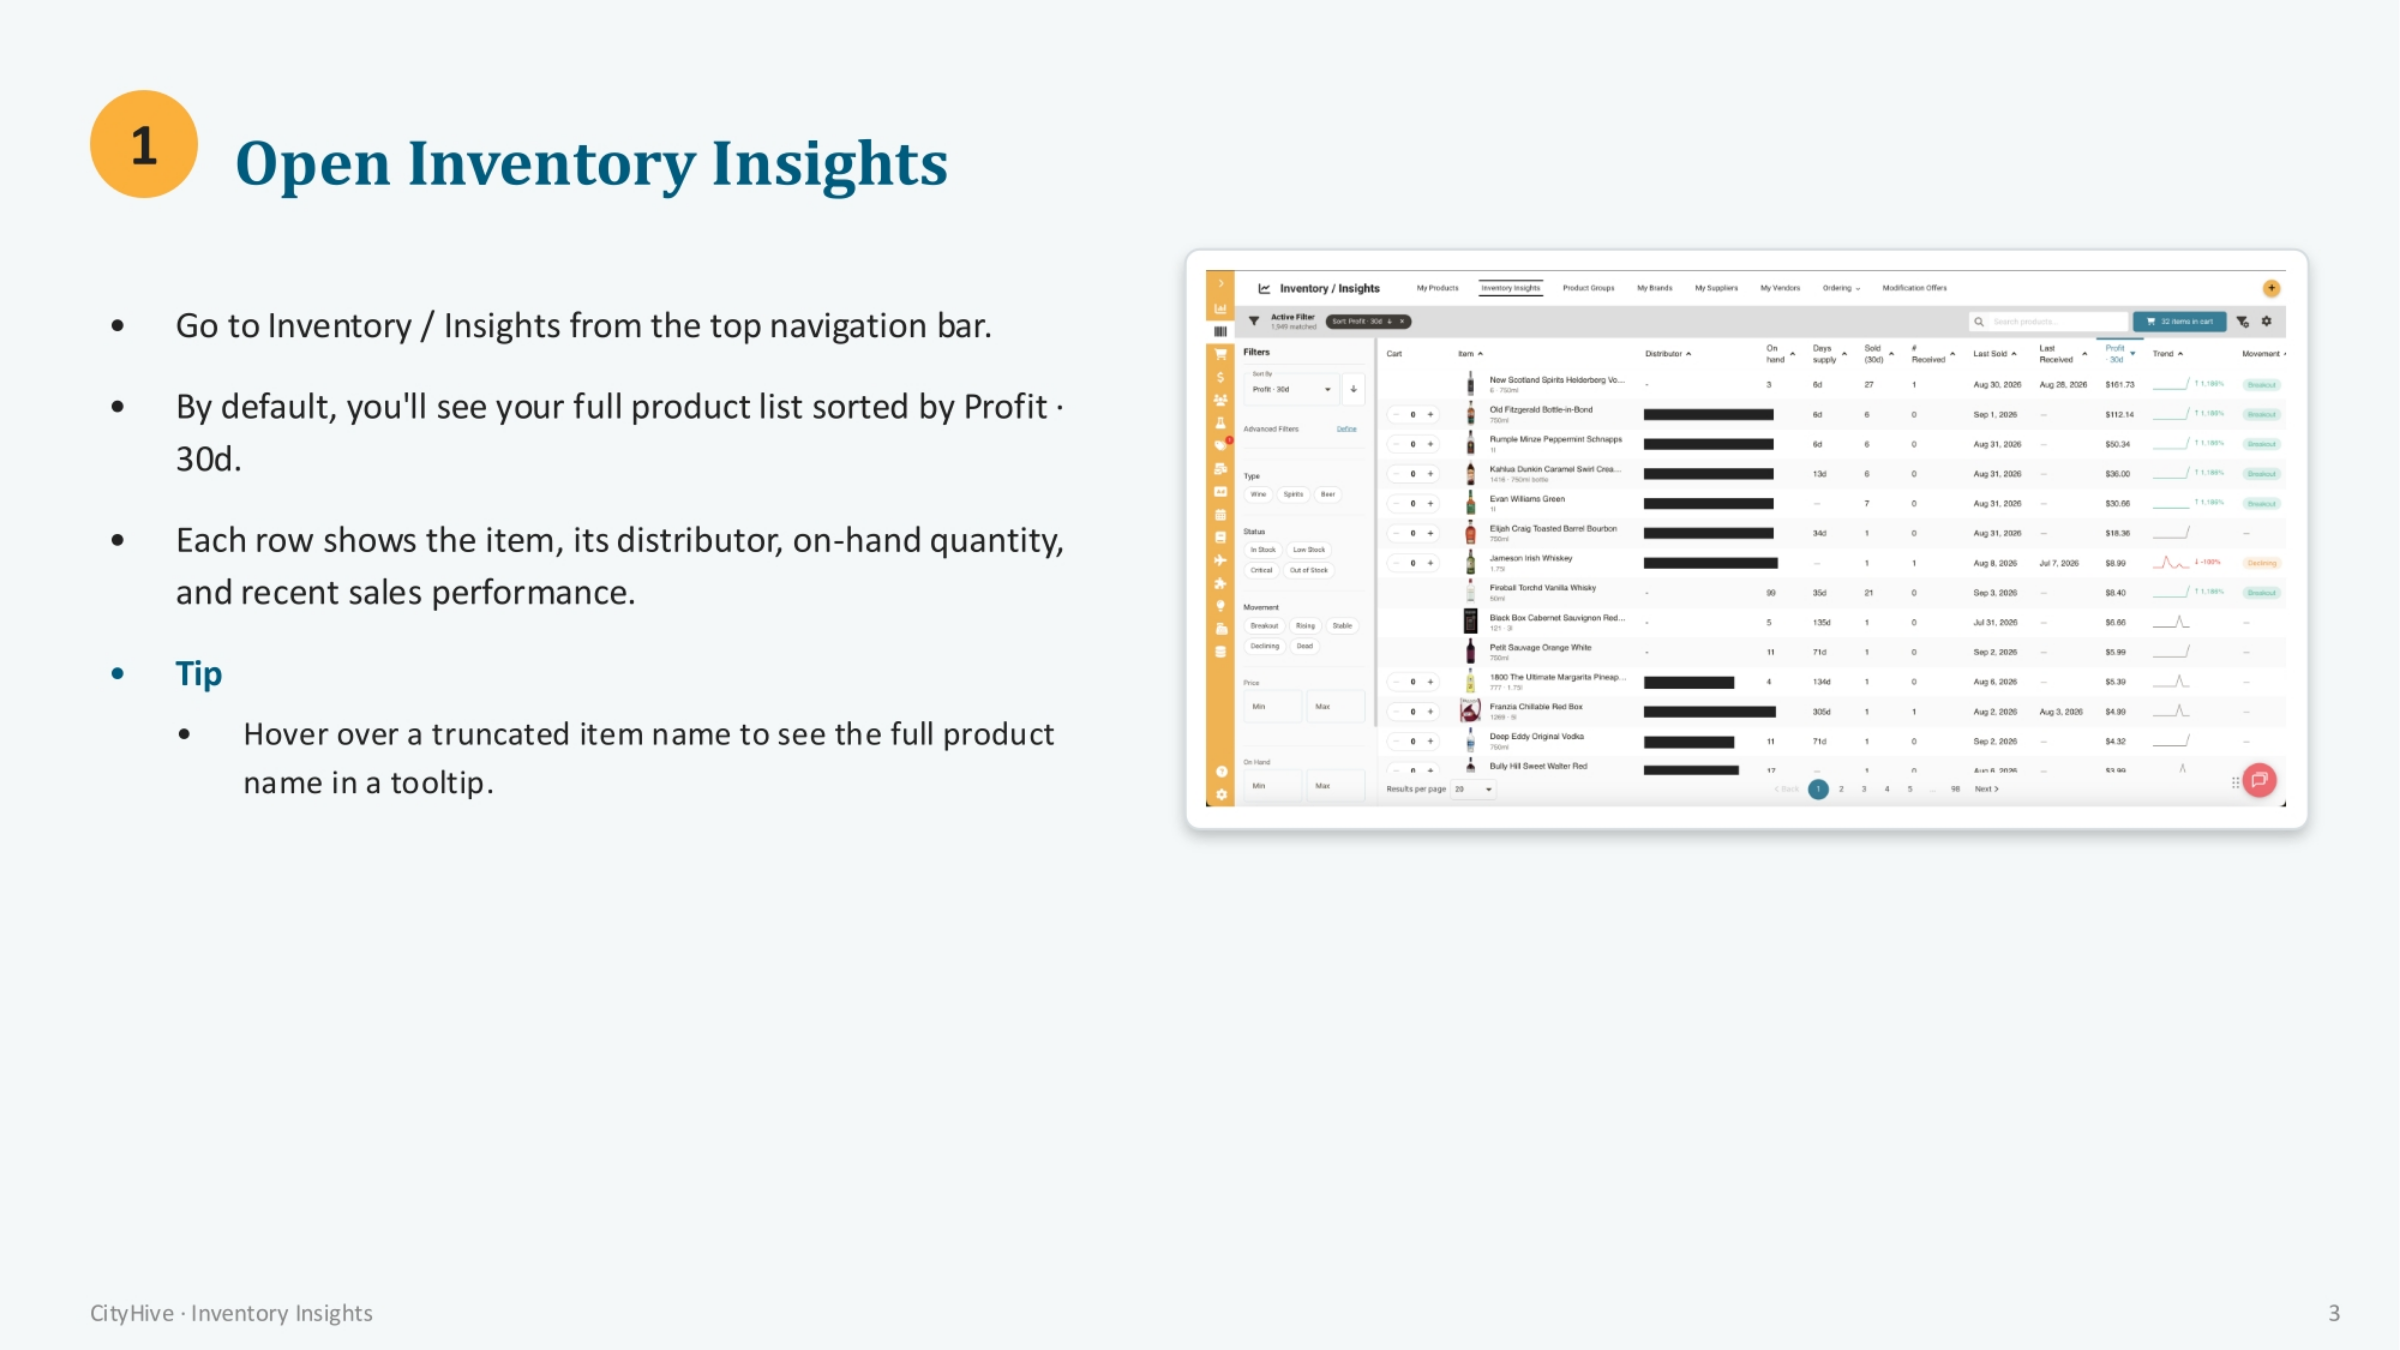
To begin, navigate to Inventory Insights from the top navigation bar. By default, you'll see your complete product list, which is typically sorted by profit over the last 30 days. Each row provides essential details like the item, its distributor, current on-hand quantity, and recent sales performance. For truncated item names, simply hover over them to reveal the full product name in a tooltip.
3. Searching for Your Product
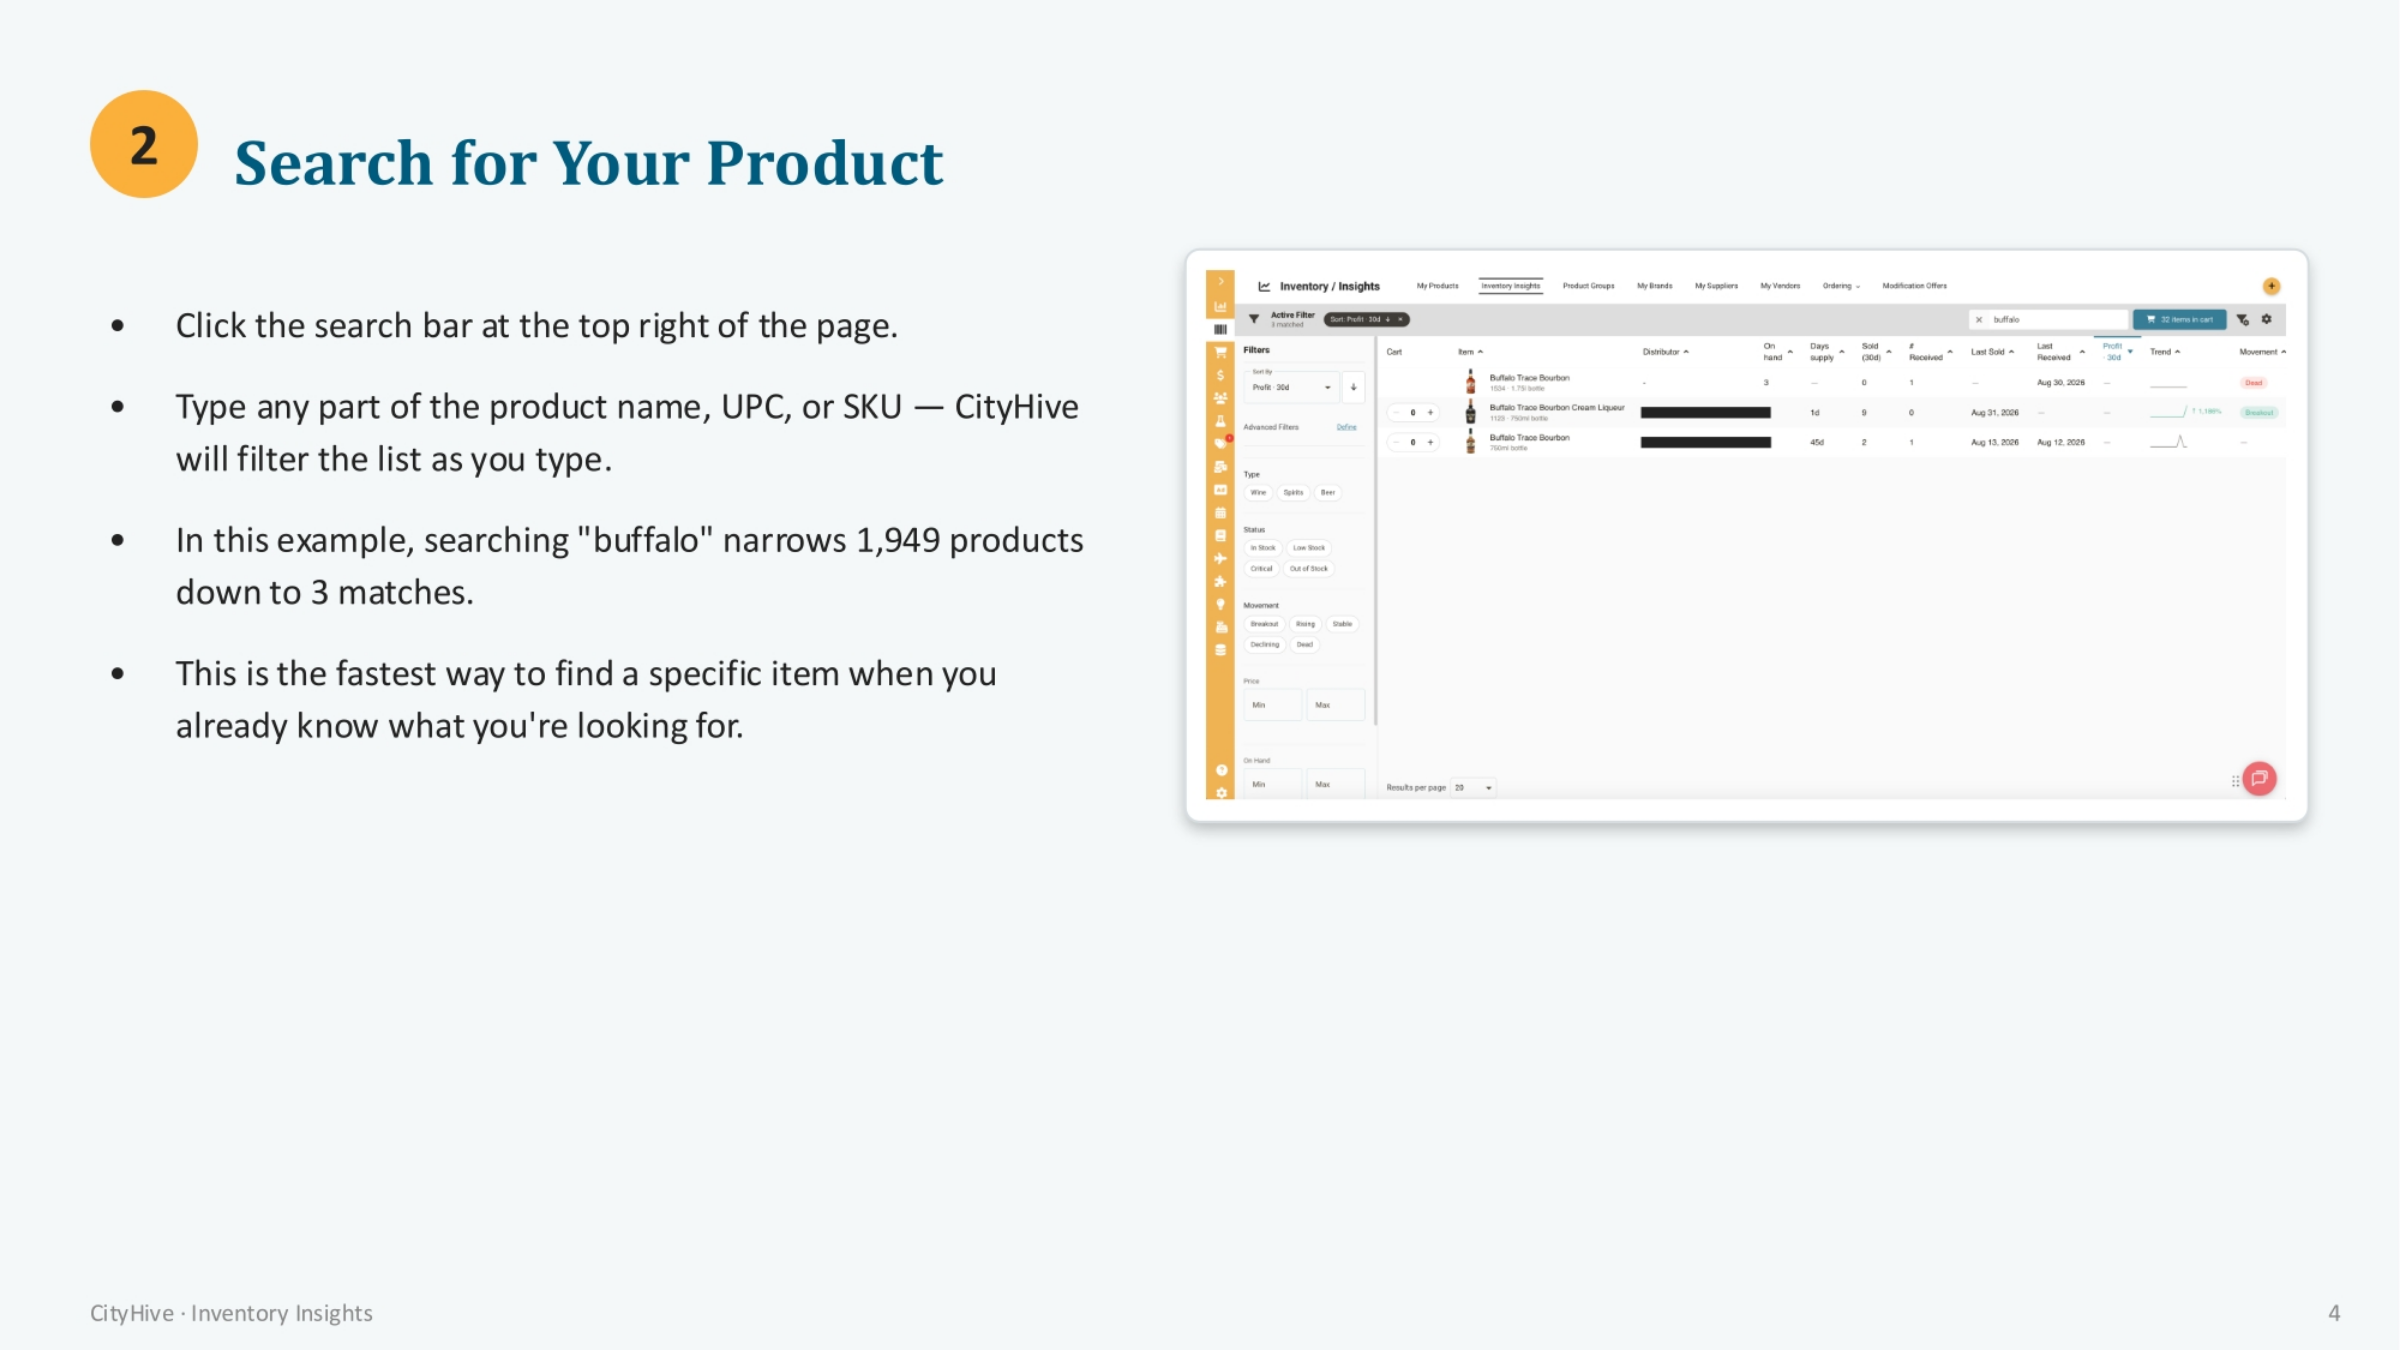
Next, locate and click the search bar positioned at the top right of the page. You can type any part of the product name, UPC, or SKU into this bar. CityHive will automatically filter the list as you type, narrowing down the results. For instance, searching 'buffalo' can quickly reduce a list of nearly 2,000 products to just a few matches. This method is the quickest way to pinpoint a specific item when you already know what you're looking for.
4. Selecting the Product
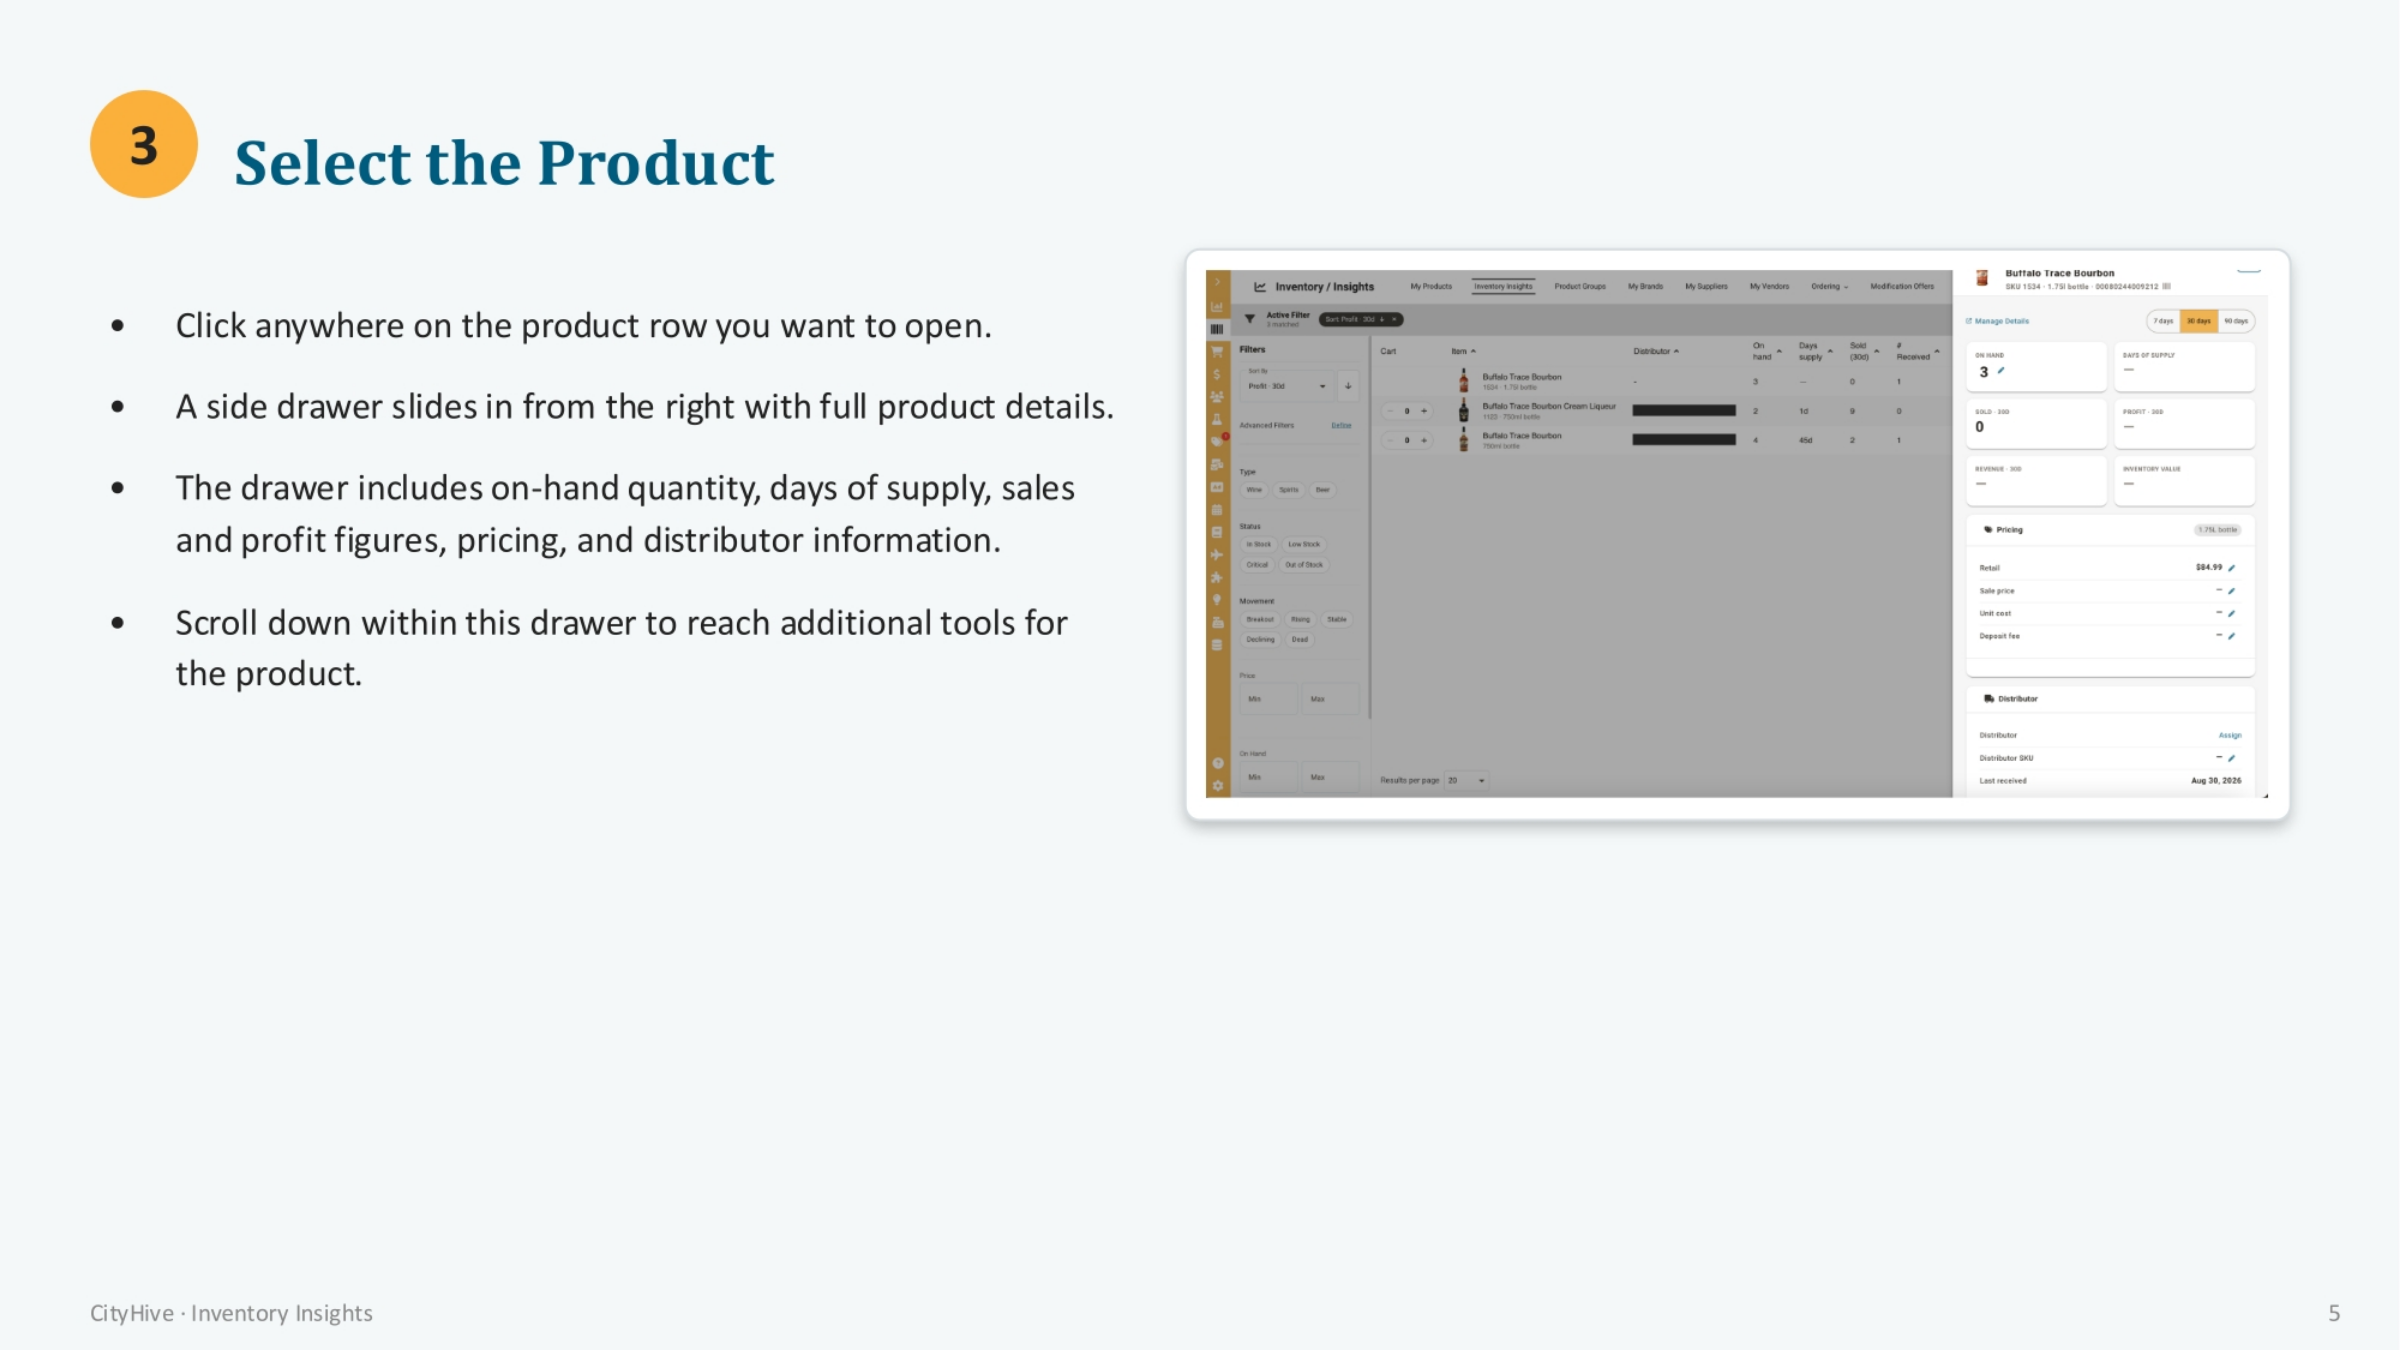
Once you've found your product, click anywhere on its row to open a side drawer. This drawer slides in from the right, displaying comprehensive product details. It includes crucial information such as on-hand quantity, days of supply, sales and profit figures, pricing, and distributor information. Remember to scroll down within this drawer to access additional tools and options relevant to the product.
5. Finding the Shelf Label Section
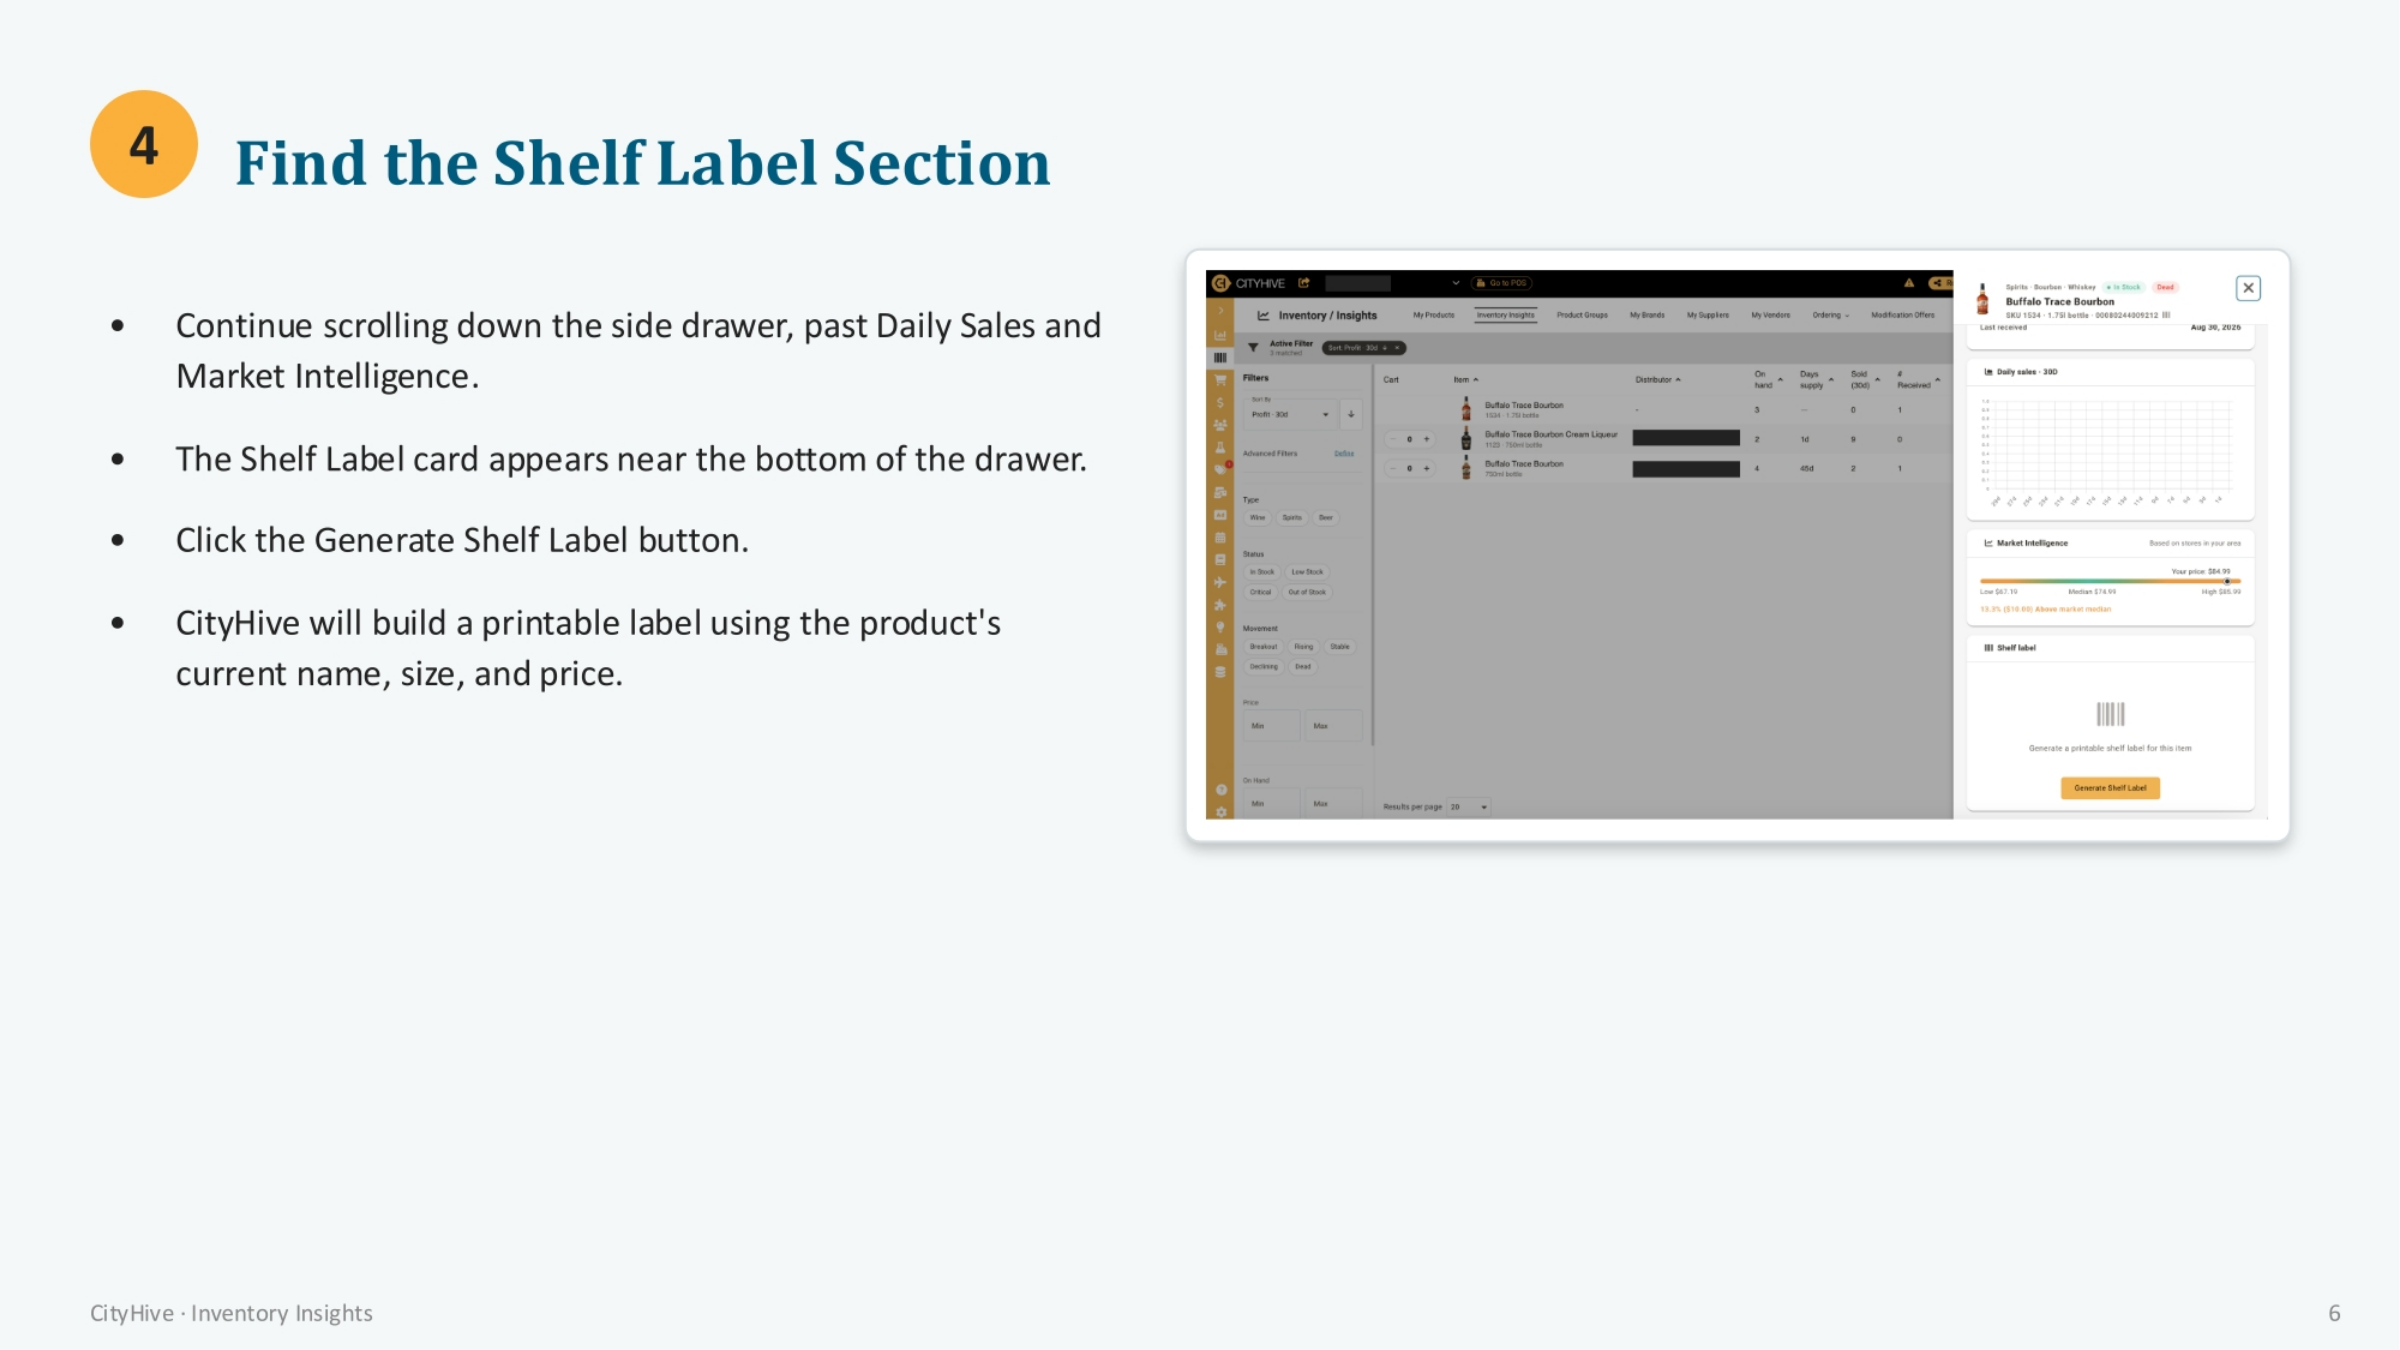
Continue scrolling down within the side drawer, past sections like Daily Sales and Market Intelligence. You will then find the Shelf Label card, which appears near the bottom of the drawer. To proceed, click the 'Generate Shelf Label' button within this card. CityHive will then automatically create a printable label, incorporating the product's current name, size, and price for accuracy.
6. Previewing and Printing the Label
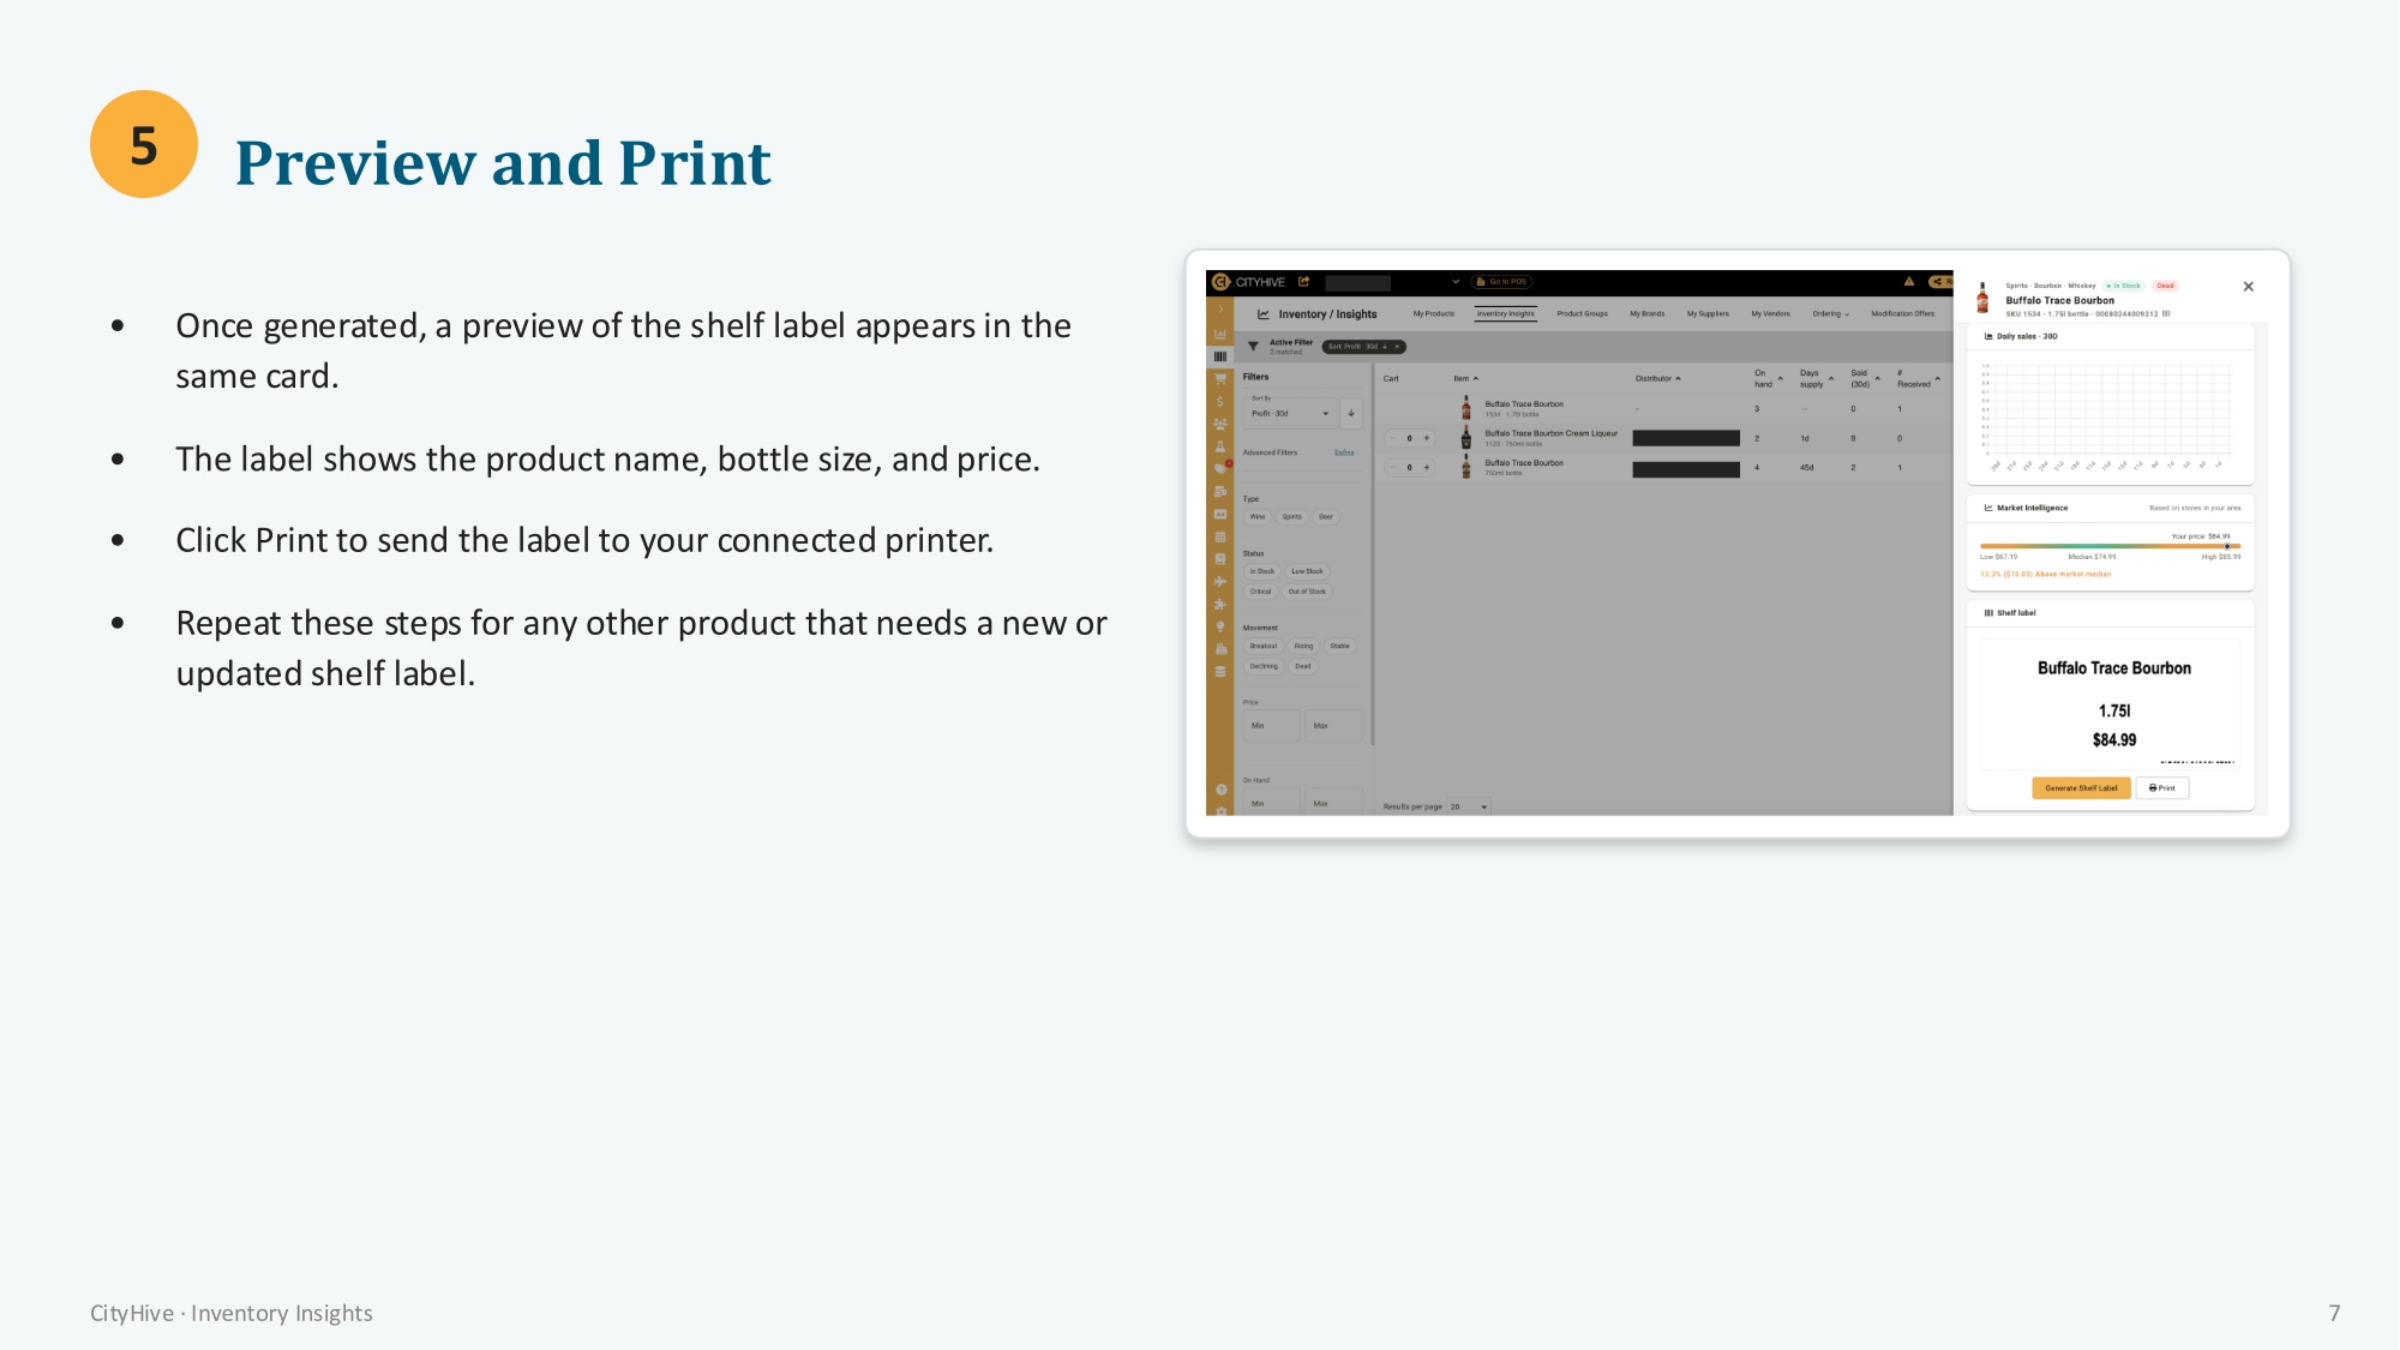
After generating the label, a preview will appear directly within the same card, allowing you to review it. This preview clearly displays the product name, bottle size, and price, ensuring all details are correct. Once satisfied, click 'Print' to send the label to your connected printer. You can easily repeat these steps for any other product that requires a new or updated shelf label, maintaining consistent and accurate labeling across your inventory.
7. Recap of Shelf Label Printing Steps
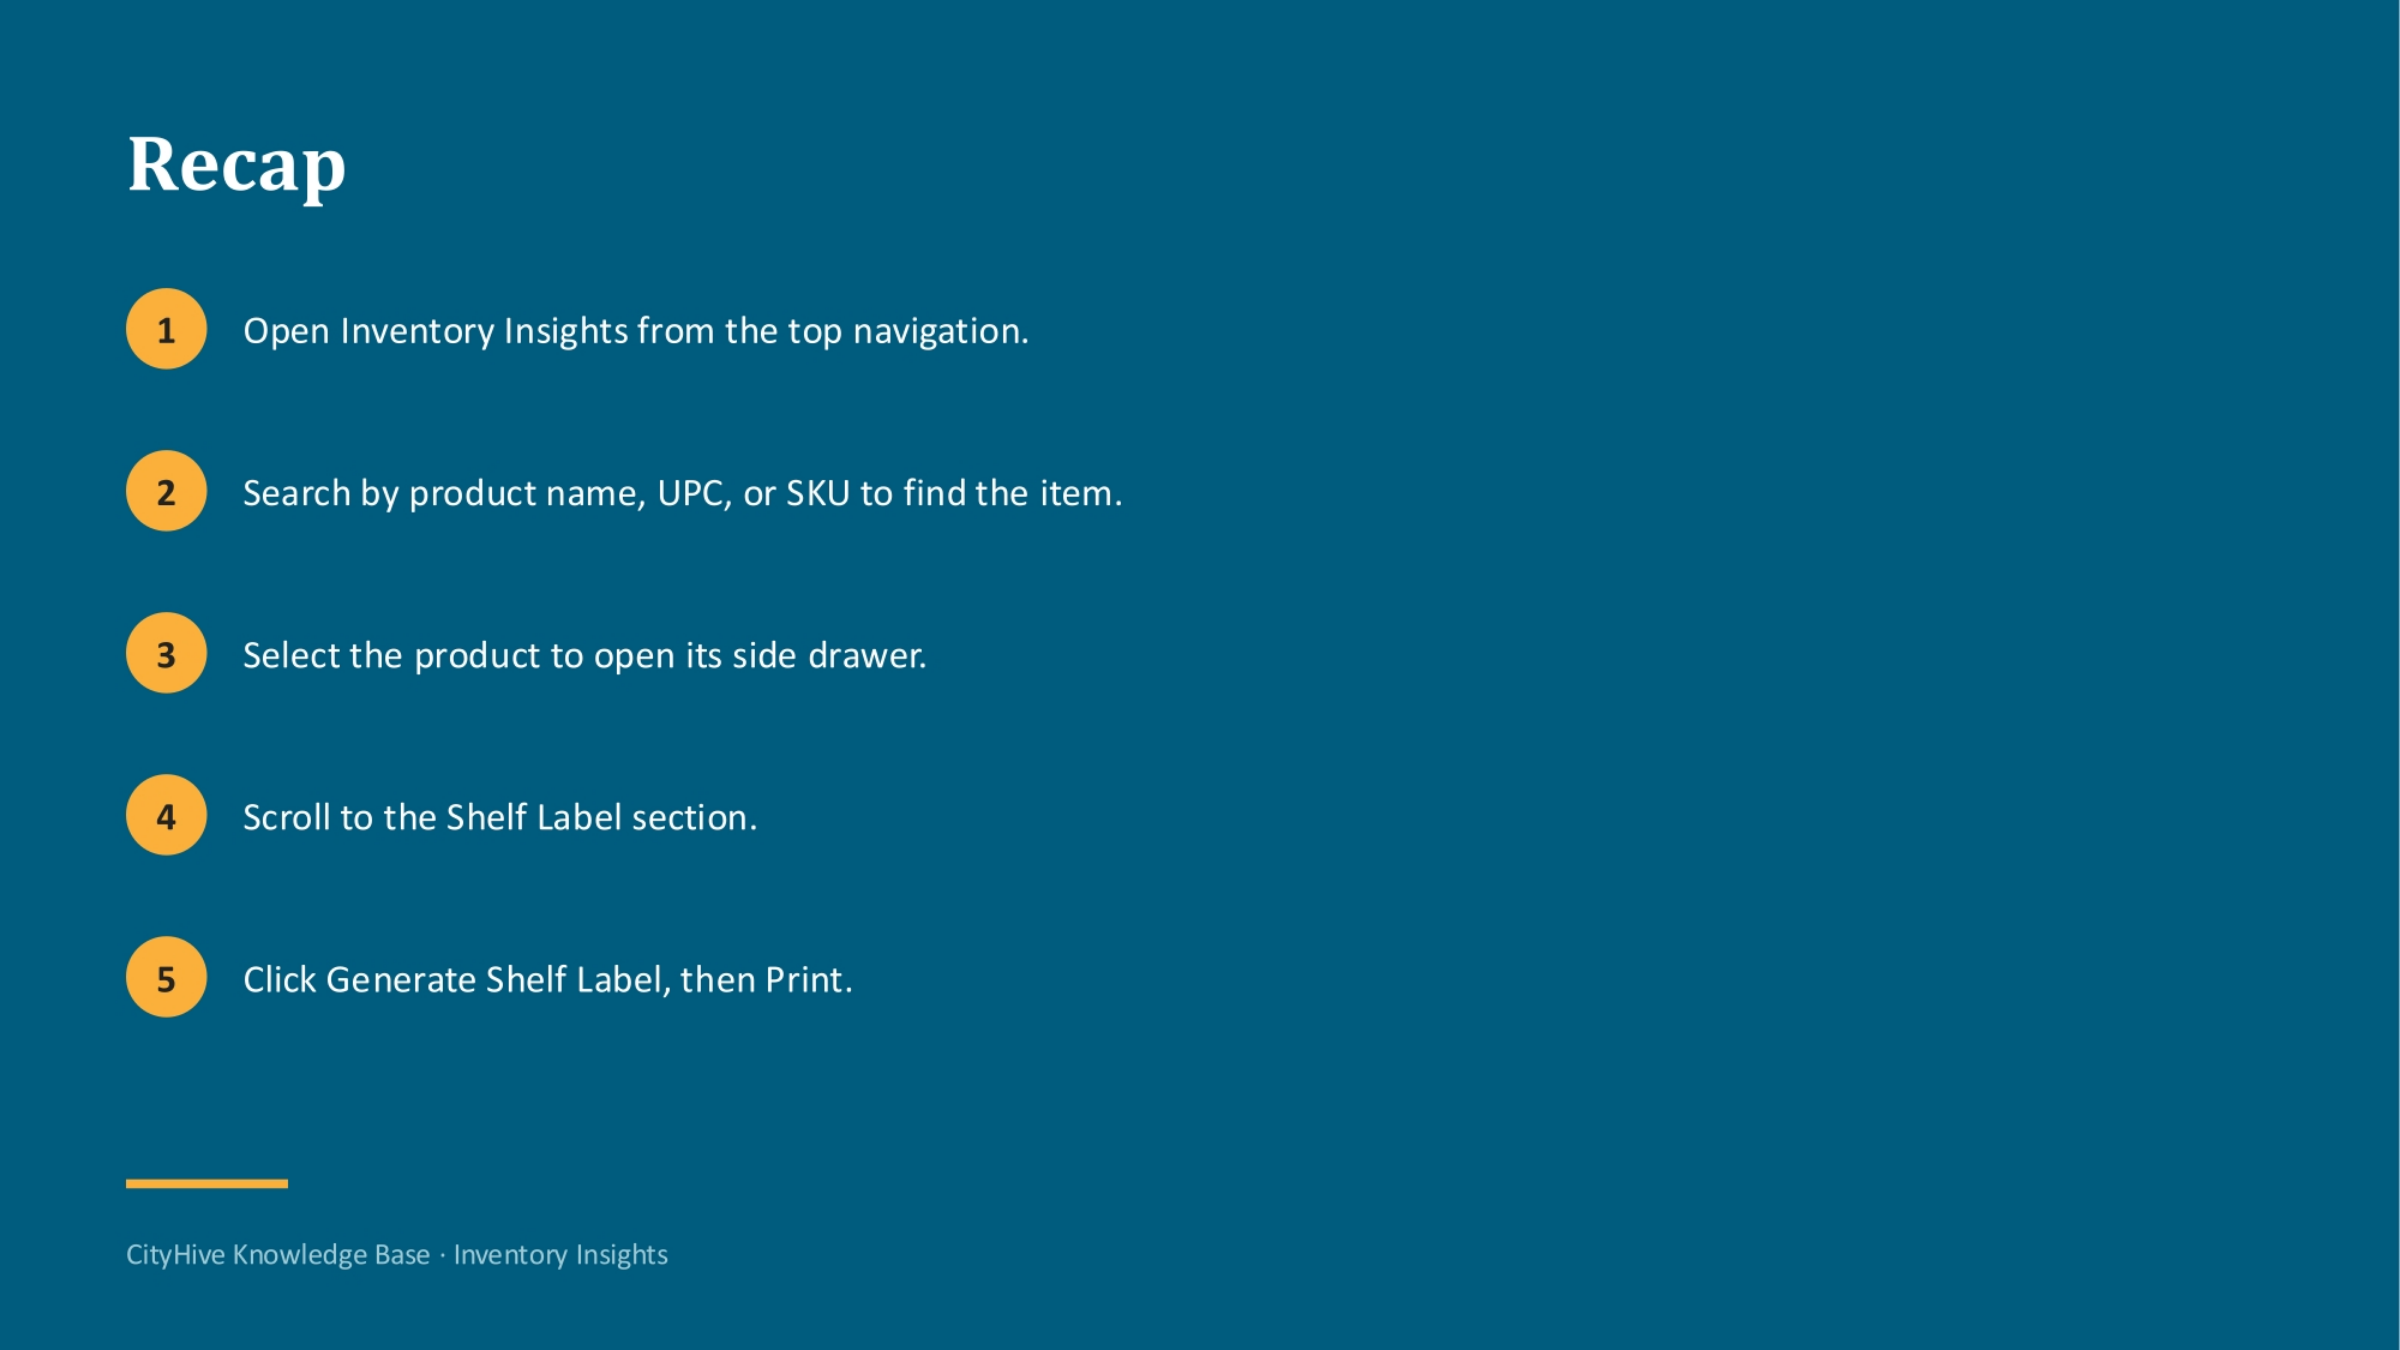
To recap the process for printing shelf labels: first, open Inventory Insights from the top navigation. Next, search by product name, UPC, or SKU to quickly find your item. Then, select the product to open its side drawer. Scroll down to the Shelf Label section, and finally, click 'Generate Shelf Label' and then 'Print'.