![City Hive Logo-2.png]](https://support.cityhive.net/hs-fs/hubfs/City%20Hive%20Logo-2.png?width=62&height=60&name=City%20Hive%20Logo-2.png)
- Choose your group type by selecting from the following options:
-
- Public Group - Group of products that can be used to help customers locate a specific selection of products through the top menu and collections slider that lead to a product group page
- Private group - Used for internal management to quickly access a selection of products that need their product details such as titles, images, or prices reviewed
- Add a title to your product group

- Define the products to be included in the group by selecting a field, operation and value

- Preview your products on the right side of the page to confirm the filter

- Click Save

Public Product Groups
If your group is public, you can also view a preview of how the page would appear on your site.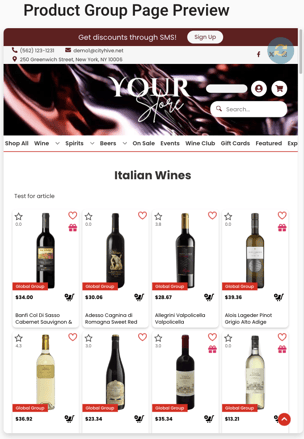
Private Products Groups
Once your changes have been saved, head over to your Product Group tab under the Inventory section then click on the funnel to sort and view the filters for your groups.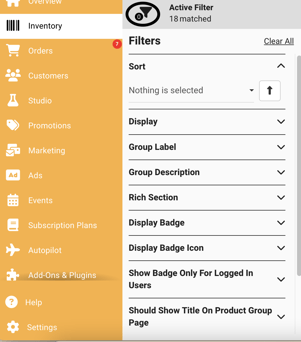
Utilize these filters to observe and handle your groups, considering the elements used and whether the group is public or private. 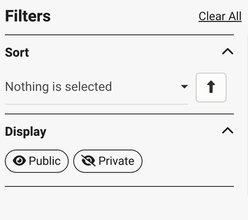
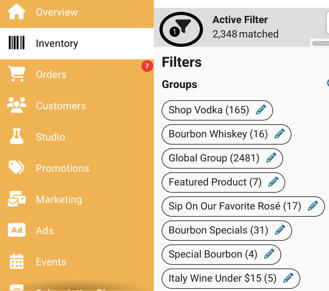
These groups can also be viewed and edited in your Product tab of your Inventory section by clicking on the same filter.
Managing Private Products with Customer and Product Groups
To hide products from the public and show them only to specific customers, assign a customer group to a product group. Make sure both the customer group and product group are already created. Customers must be logged in for this to work. You can refer to our articles on how to create a customer group and how to create a product group.
Fill out all required fields and add the correct product tags while the product group is Public. Then switch it to Private—fields will appear greyed out. To make changes, switch back to Public, update, then return to Private and save.
To complete the process, copy the product group’s Landing Page URL and share it with the appropriate customer group.